Creating Your First Model
Prefer to watch? This tutorial is also available as a video.
This quickstart takes you from an empty workspace to a saved BPMN model.
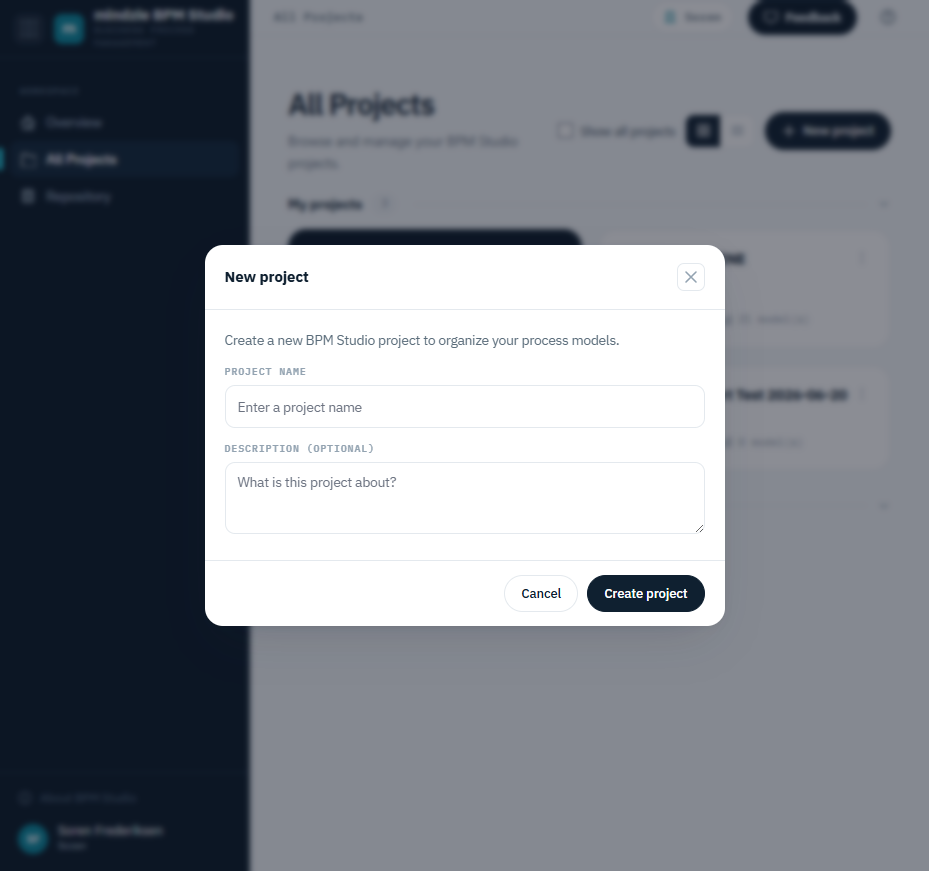
1. Create a Project
Models live inside projects, so the first step is creating one.
- Open BPM Studio and click All Projects in the sidebar.
- Click New project.
- Enter a name for the project - for example, "Order Handling" - and an optional description.
- Click Create project.
The project opens on its Models page, which is empty for now.
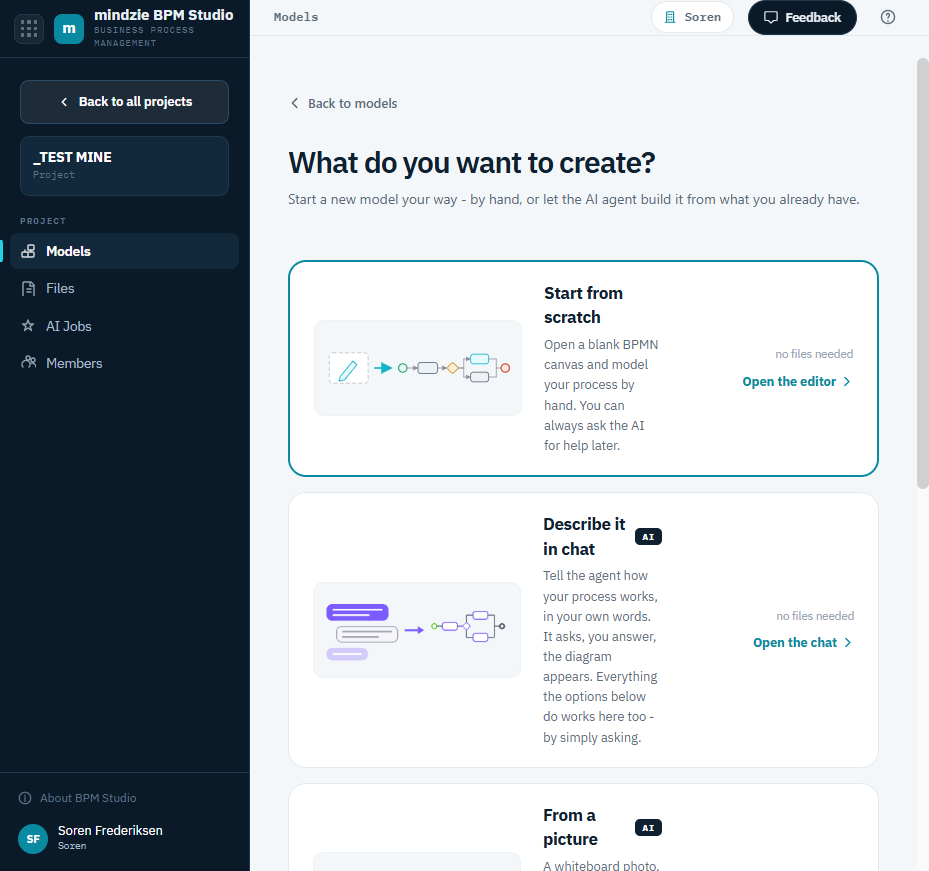
2. Start a New Model
- Click New model.
- On the What do you want to create? screen, choose Start from scratch, then click Open the editor.
The editor opens with a blank canvas containing a single start event.
Prefer to let AI draw the first version for you? Choose one of the AI options instead - Describe it in chat, From a picture, From an SOP, or From Visio. The Describe option comes with 100 ready-written process descriptions you can start from. See Creating Models with AI.
3. Draw the Process
- Click Task in the palette on the left, then click the canvas to place it. (Dragging it across works too.)
- Select the start event and drag from its connect handle onto the task to join them.
- Add the next step faster: with an element selected, click + on its context pad, pick the element type, and it is created and connected in one move.
- Double-click any element to name it, then press Enter.
- Open Arrange > Auto layout at any time to tidy the whole model in one step. Undo with Ctrl+Z if you preferred your own arrangement.
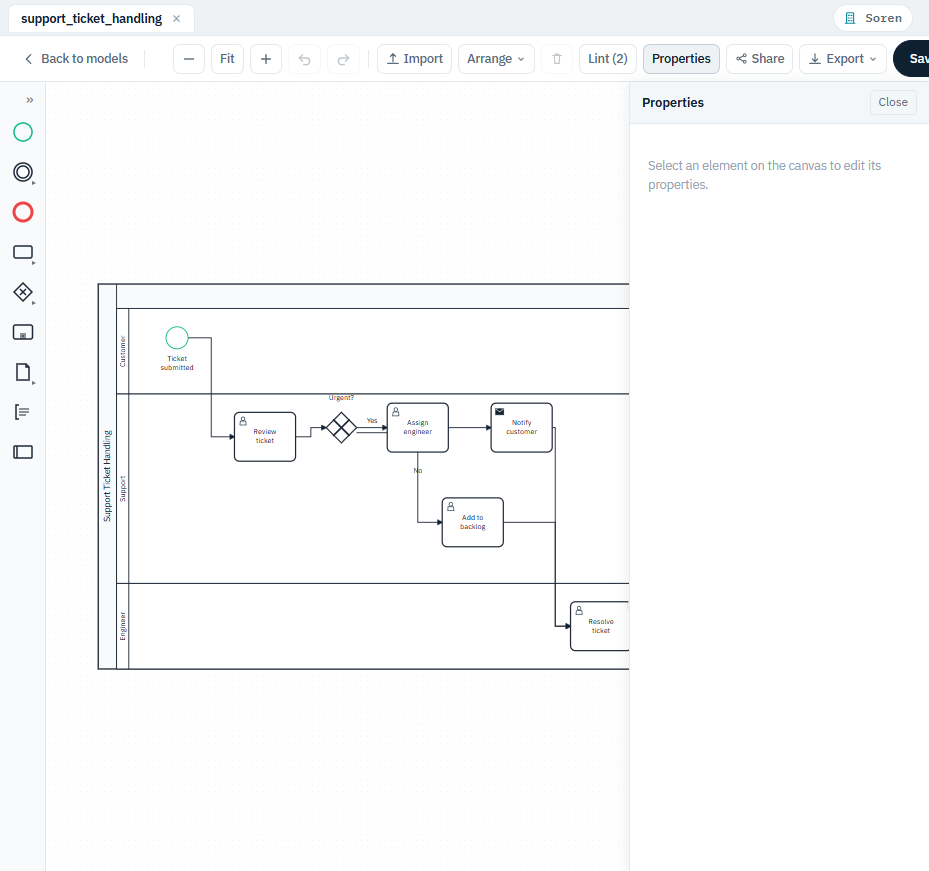
For the full set of editing techniques, see Editing Basics.
4. Check It
Click Lint in the toolbar. The panel lists anything questionable about the model - a step with nothing connected to it, a branch with no gateway, an element with no name - and clicking an issue jumps to the element. Clear the errors before you go further. See Checking Your Model.
5. Save
Click Save in the toolbar. The toolbar confirms the save and the version - for example, Saved v1 at 14:32. Every save records a new numbered version. See Saving and Versions.
6. Find It Again
Click Back to models (or Models in the sidebar) to return to the project's model list. Your model is there with its version number and last-modified time. Click its name to open it again.
What Next
- Share it - use Share in the editor to copy a link for a colleague.
- Publish it - when the process is agreed, publish it so it appears in your organization's Repository. Note that publishing locks the model against editing until you unpublish it.