Creating Models with AI
Prefer to watch? This tutorial is also available as a video.
BPM Studio can draft a BPMN model for you from material you already have - a photo or screenshot of a flow, a procedure document, a Visio file, or simply a description you type. You then refine the generated model in the editor like any other.
The AI options appear only when AI agents are enabled for your tenant. If AI Jobs is greyed out in the sidebar, or the AI options are missing, ask your tenant administrator.
Where to Start
There are three ways to start an AI generation:
- New model - on the project's Models page, click New model and pick one of the AI options.
- AI Jobs - open AI Jobs in the sidebar and start a new job. See AI Jobs.
- Files - on the Files page, use a file's Generate with AI action to build a model from something you have already uploaded.
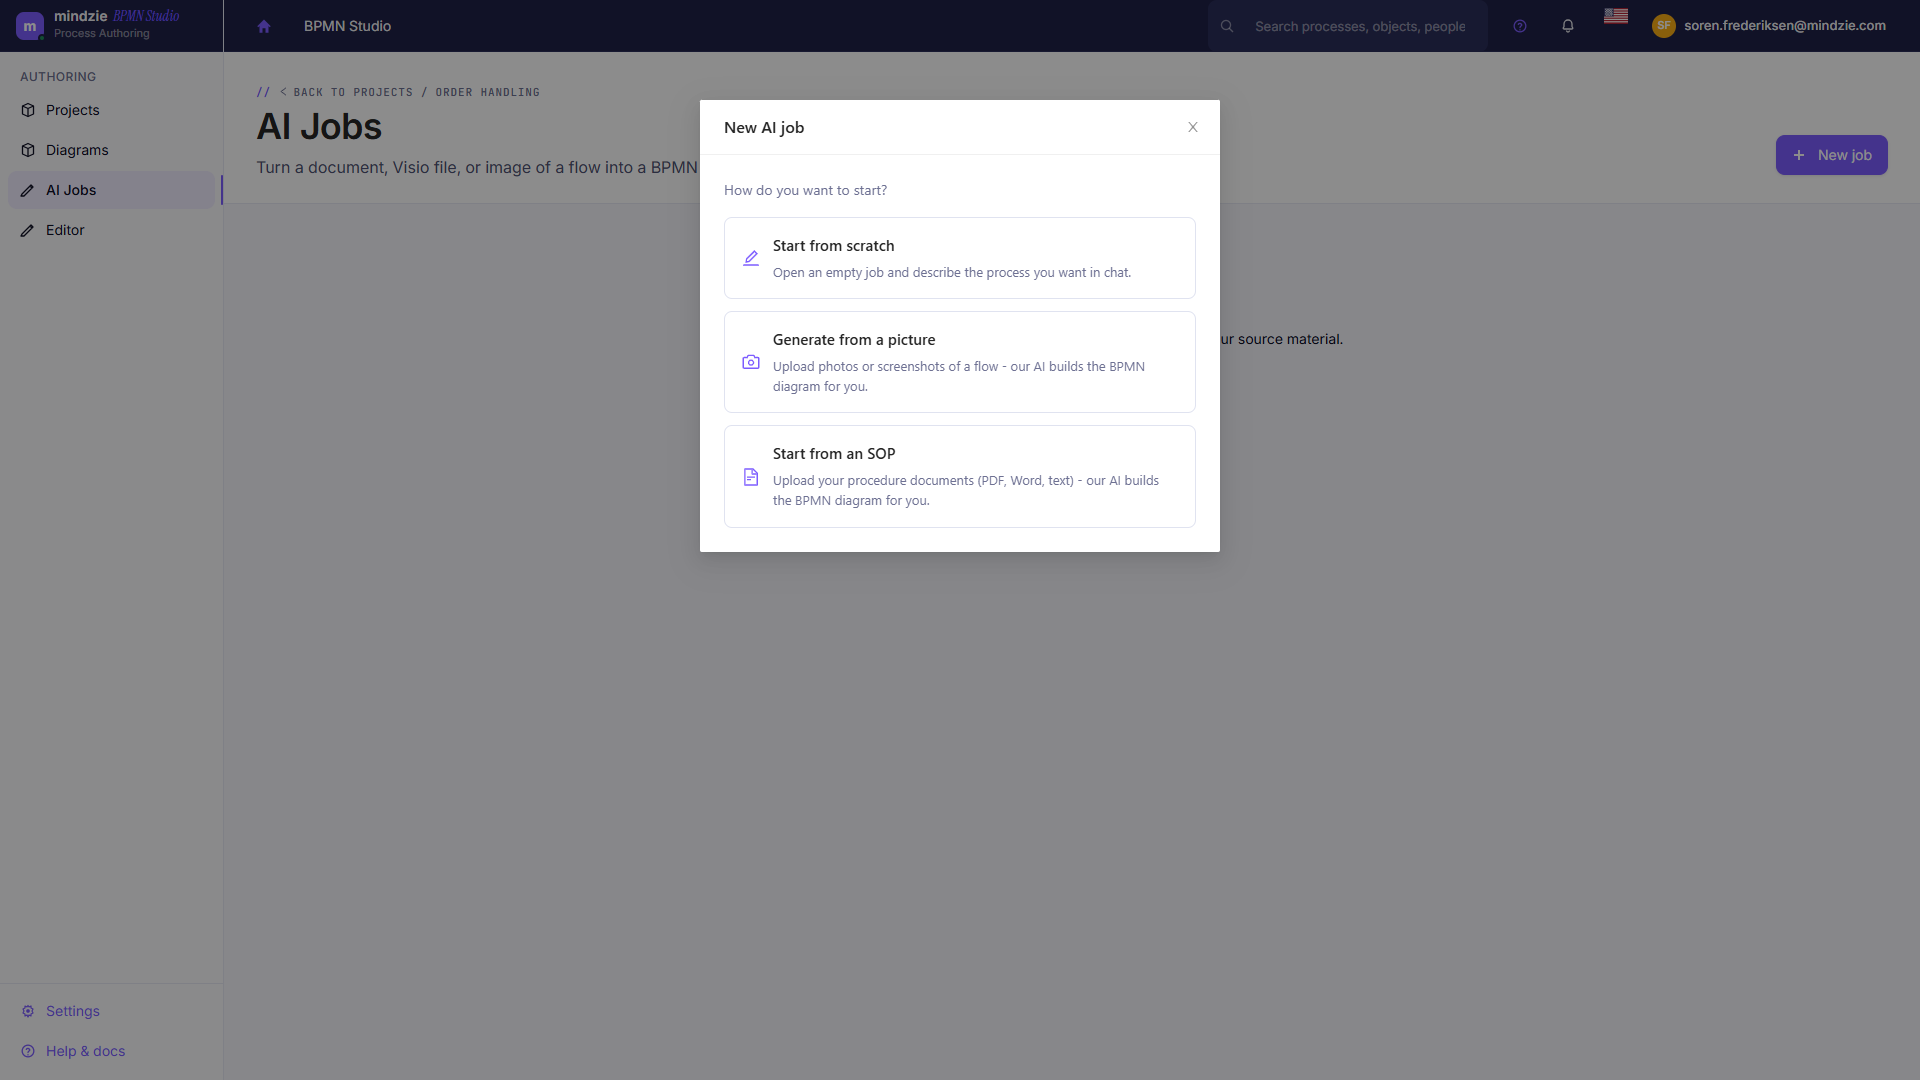
The AI Options
| Option | You provide | Result |
|---|---|---|
| Describe it in chat | A description of the process, typed in (no files needed) | The agent builds the model from your description, and you refine it in the conversation. |
| From a picture | Photos or screenshots of a flow - PNG, JPG, JPEG, BMP, WEBP | The agent reads each image and builds a BPMN model - one model per picture. |
| From an SOP | Procedure documents - PDF, Word, text, or Markdown | The agent reads the document and builds the process it describes. |
| From Visio | A Visio drawing (.vsdx) |
The agent reads the Visio shapes and connections and turns them into a clean BPMN model. |
For the file-based options you can upload new files or pick ones already in the project. Each file can be up to 20 MB, and generation typically takes 10 to 30 minutes per picture, document, or drawing.
Describing a Process in Chat
Describe it in chat is the option to start with if you have nothing to upload. Write what the process does - the steps, the decisions, and who does what - and the agent generates from that as soon as you open the chat. You can keep refining it in the conversation afterwards.
The more concrete the description, the better the first draft. Something like:
A customer places an order, we check their credit, and if approved we ship it and invoice them; if the credit check fails, the order is rejected and the customer is notified.
works far better than "our order process".
Start from a Template
Beside the description box sits a library of 100 ready-written process descriptions covering the processes most organizations run. Search it, then click a card - or drag it into the box - to load that description. It becomes ordinary editable text, so adjust it to match how your organization does the work before generating.
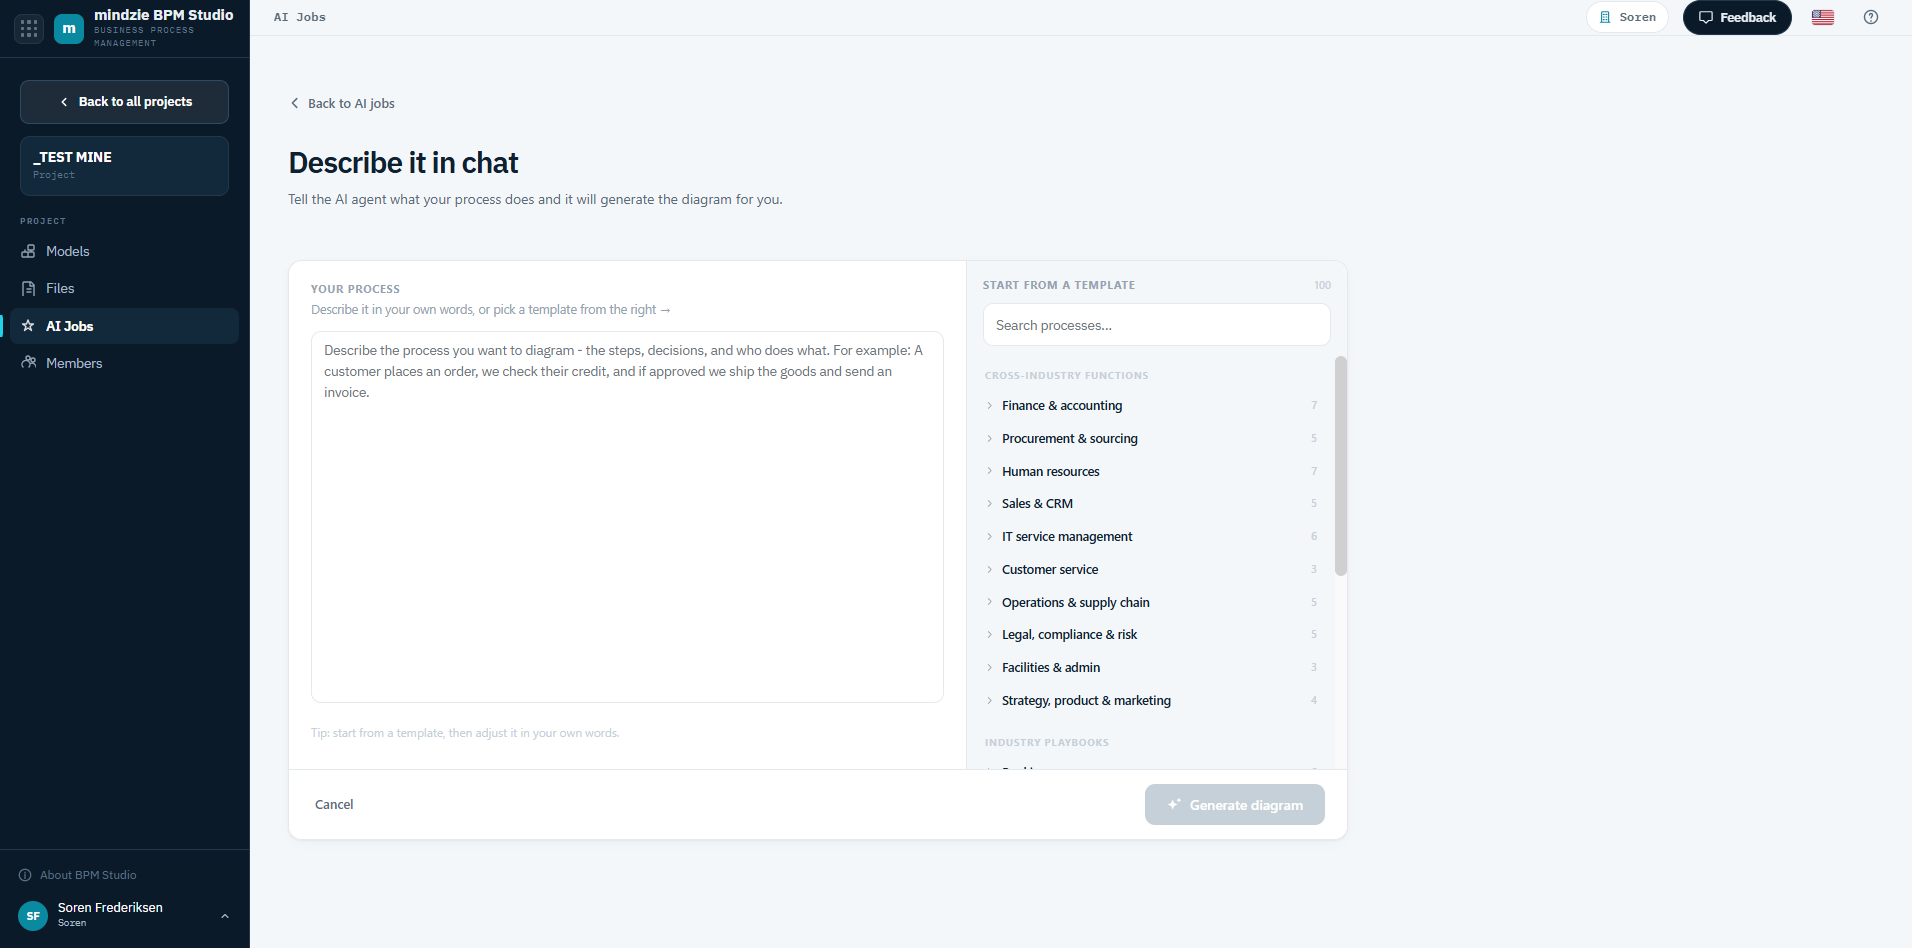
The library is organized in two sections. Groups are collapsed until you open one, and searching opens whatever matches.
Cross-industry functions
Finance & accounting, Procurement & sourcing, Human resources, Sales & CRM, IT service management, Customer service, Operations & supply chain, Legal / compliance & risk, Facilities & admin, and Strategy / product & marketing.
Industry playbooks
Banking, Insurance, Healthcare, Manufacturing, Telecom, Retail & e-commerce, Logistics & transportation, Public sector & government, Pharma & life sciences, Utilities & energy, and Education.
Each card carries a one-line summary and a Simple, Medium, or Complex tag, so you can tell at a glance whether you are asking for a short linear flow or a process with parallel branches, escalation, and exception paths.
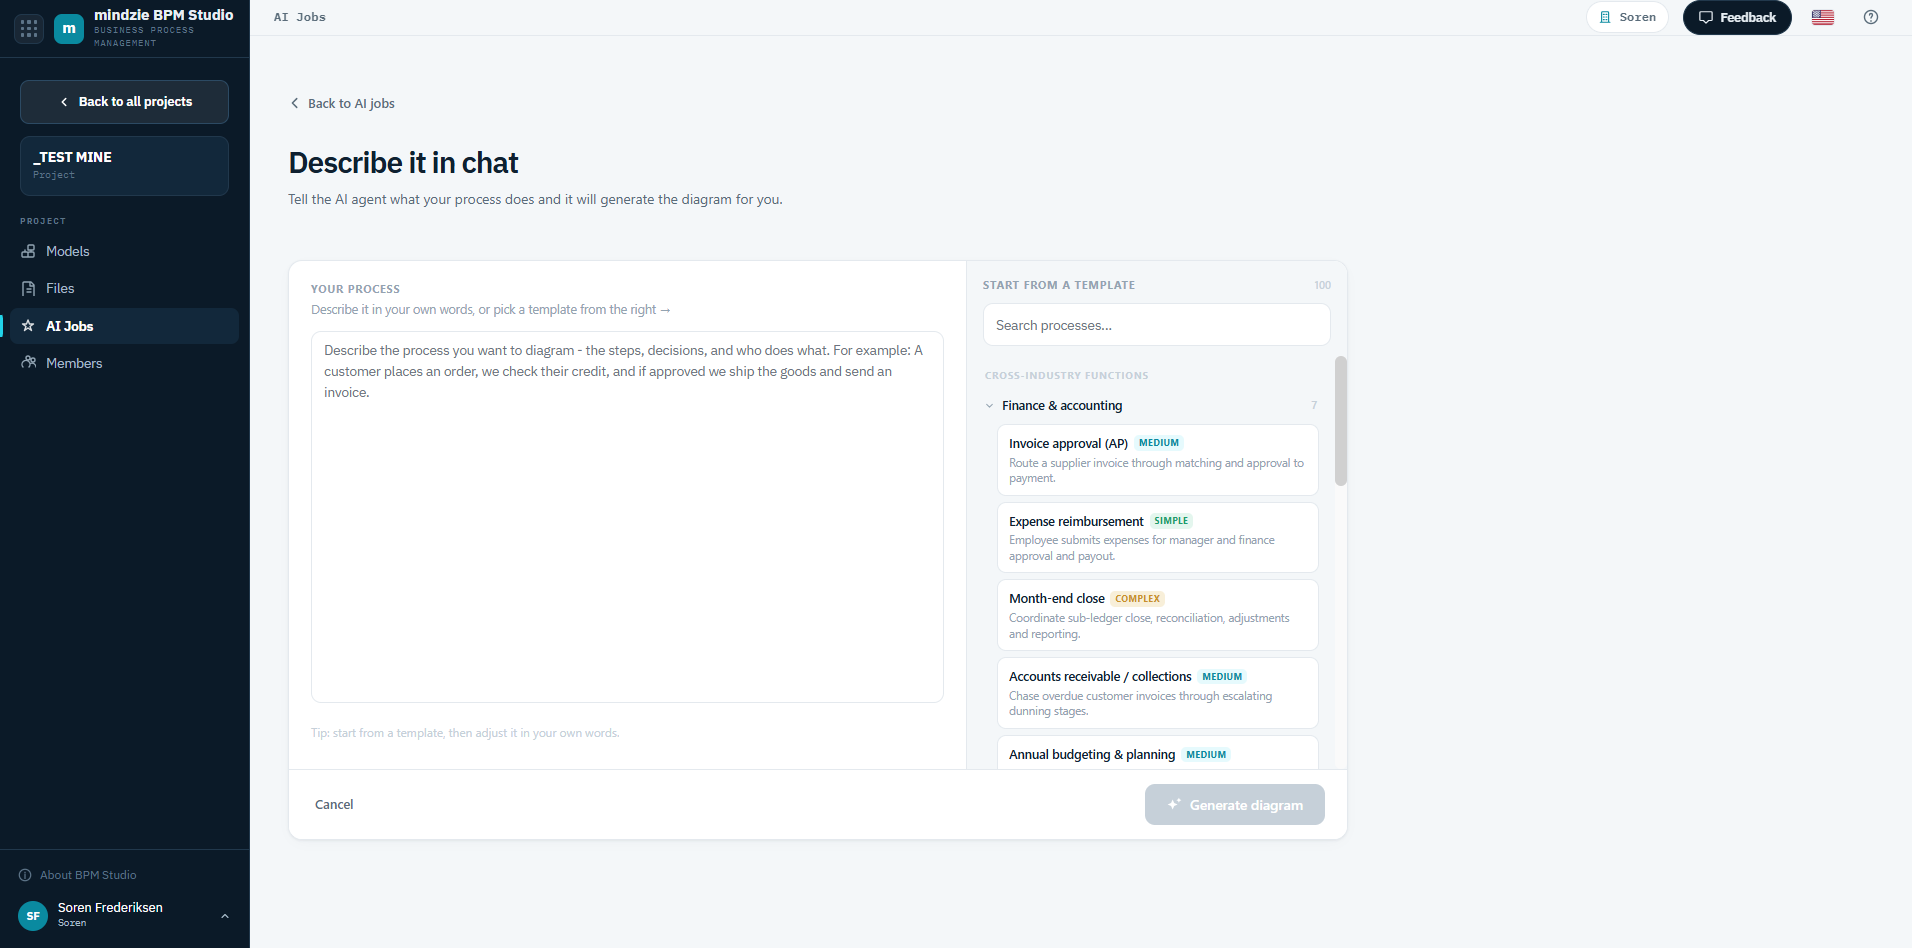
The library is available in every interface language.
Naming the Job
For the file-based options you give the job a name - it is what you will look for in the AI Jobs list, so make it descriptive ("Order intake process" rather than "test 2"). When you describe a process in chat, the name is taken from your description.
If you select several pictures or documents, the generate button tells you how many models you are about to create.
While the Job Runs
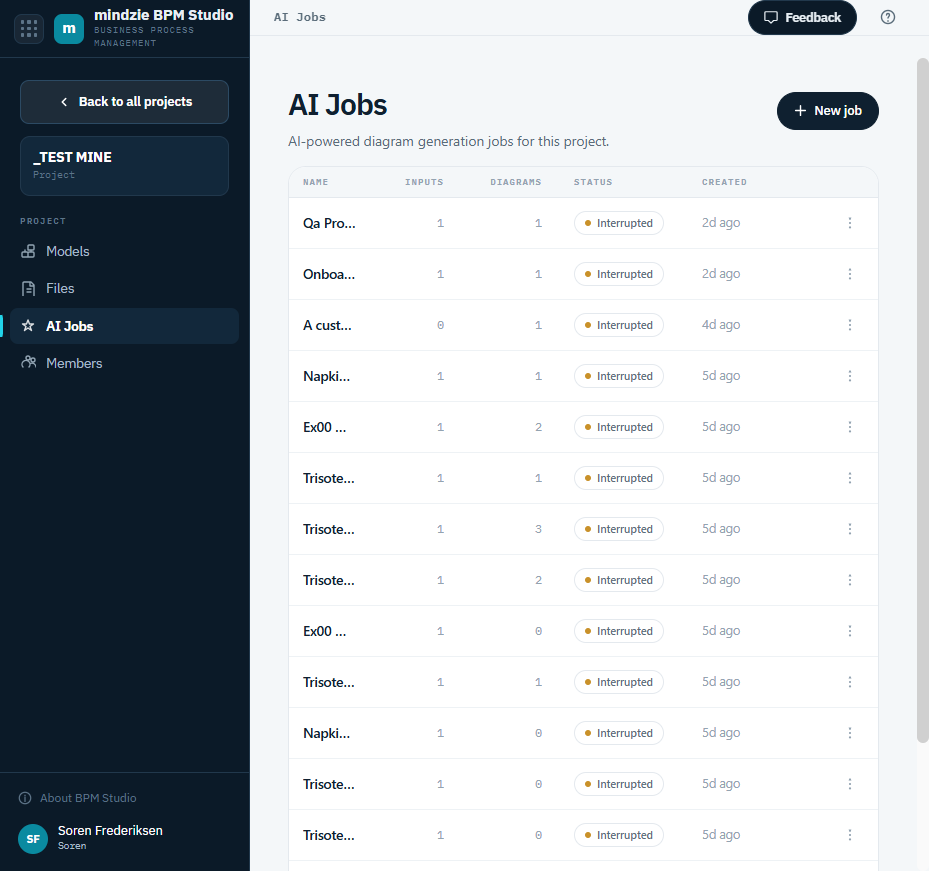
Generation runs in the background - you can leave the page. The job appears in the project's AI Jobs list, where you can follow its status, and you receive an email when the model is ready.
After Generation
The generated model appears under the project with an AI-built badge. Open it in the editor, fix anything the agent got wrong, run Lint to catch the rest, tidy it with Arrange > Auto layout, and save - every save records a new version, so the agent's original draft stays in the history.
Importing Instead
If you already have a BPMN file, you do not need the AI at all. Use Import model on the Models page, or the import link at the bottom of the New model screen, to bring in a .bpmn file directly.