Editing Basics
Everything on the canvas is edited directly: drag shapes in, click to select, and use the controls that appear around the selection.
Adding Elements
Drag a shape from the palette onto the canvas and drop it where you want it. For element types grouped in a flyout (tasks, gateways, intermediate events, data), hover the group to open the flyout and drag the specific variant.
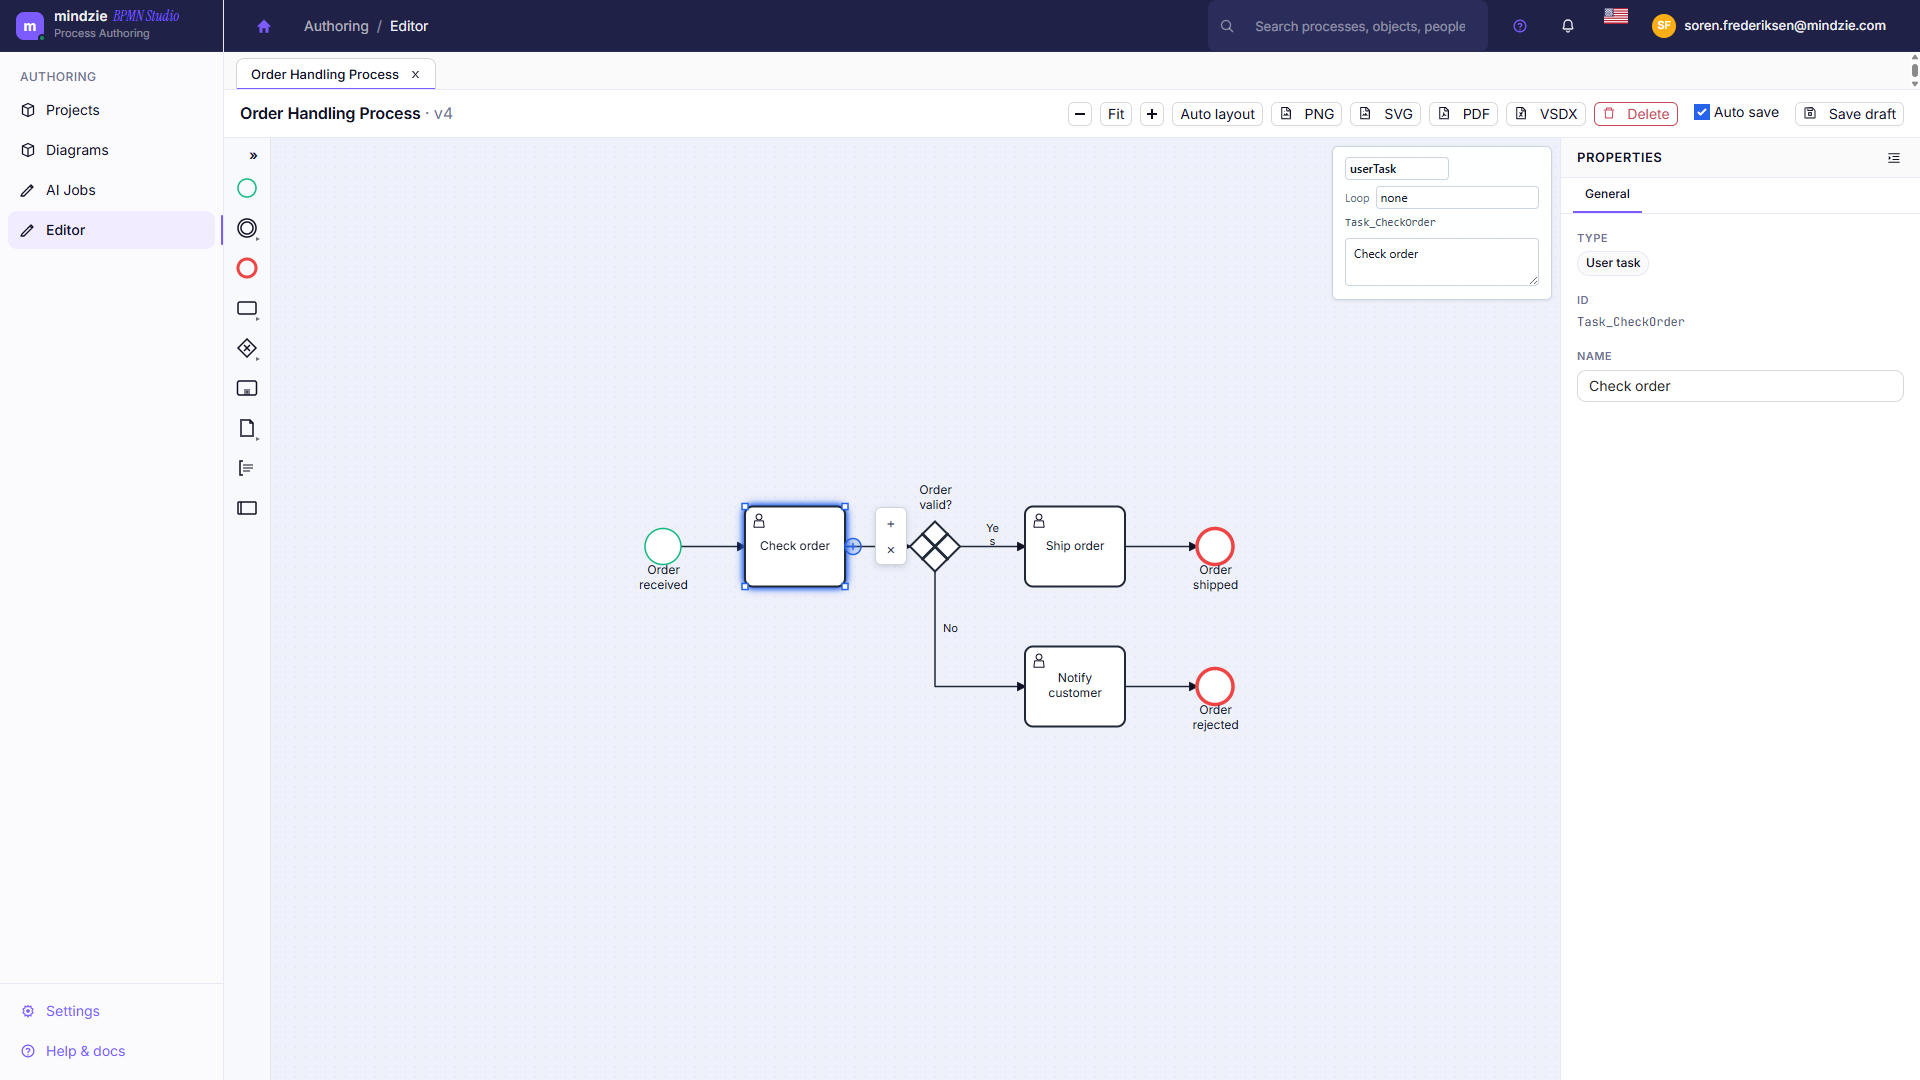
Selecting
Click an element to select it. A selected element shows:
- A quick-connect (+) button - click it to draw a connection to another element, or to create and connect a new element in one step.
- A small popup where you can type the element's name and, for events, choose the event subtype.
- Its details in the properties panel on the right (open it with the Properties button).
Click empty canvas to clear the selection.
Connecting Elements
Use the quick-connect + on a selected element and click the target element. The connection is routed automatically and re-routes itself when you move elements around.
Moving and Arranging
- Drag an element to move it; connections follow.
- Click Arrange in the toolbar to rearrange the whole model automatically.
- Use - / Fit / + to zoom; Fit shows the entire model.
Naming Elements
Select an element and type its name into the popup that appears, or into the Name field of the properties panel. Clear, action-oriented names ("Approve invoice", "Check credit") keep the model readable.
Undo and Redo
- Ctrl+Z undoes the last change - including an Arrange.
- Ctrl+Y redoes it.
You can also use the undo and redo buttons in the toolbar.
Deleting Elements
Select an element and press Delete on your keyboard, or use the x in the quick-connect controls.
To delete an entire model rather than a single element, use the model's options menu on the Models page or the model detail page. See Managing Models.