Getting Started: Creating Your First mindzie studio Project
Overview
This quick-start tutorial will guide you through the essential steps of creating your first project in mindzie studio. You'll learn how to set up a new project from scratch, customize it with a thumbnail image, and assign users with appropriate permissions. This foundational knowledge will prepare you to begin building process mining analyses and dashboards.
By the end of this tutorial, you'll have created a fully configured mindzie studio project ready for data upload and analysis.
What You'll Learn
- How to access the project creation interface
- The difference between empty projects, project gallery templates, and package uploads
- How to name and create a project
- How to add a custom thumbnail for visual identification
- How to assign users to your project and configure their permission levels
Prerequisites
- Access to mindzie studio with appropriate credentials
- Login permissions to create new projects
- (Optional) A thumbnail image file for project customization
- (Optional) User email addresses if you plan to share the project
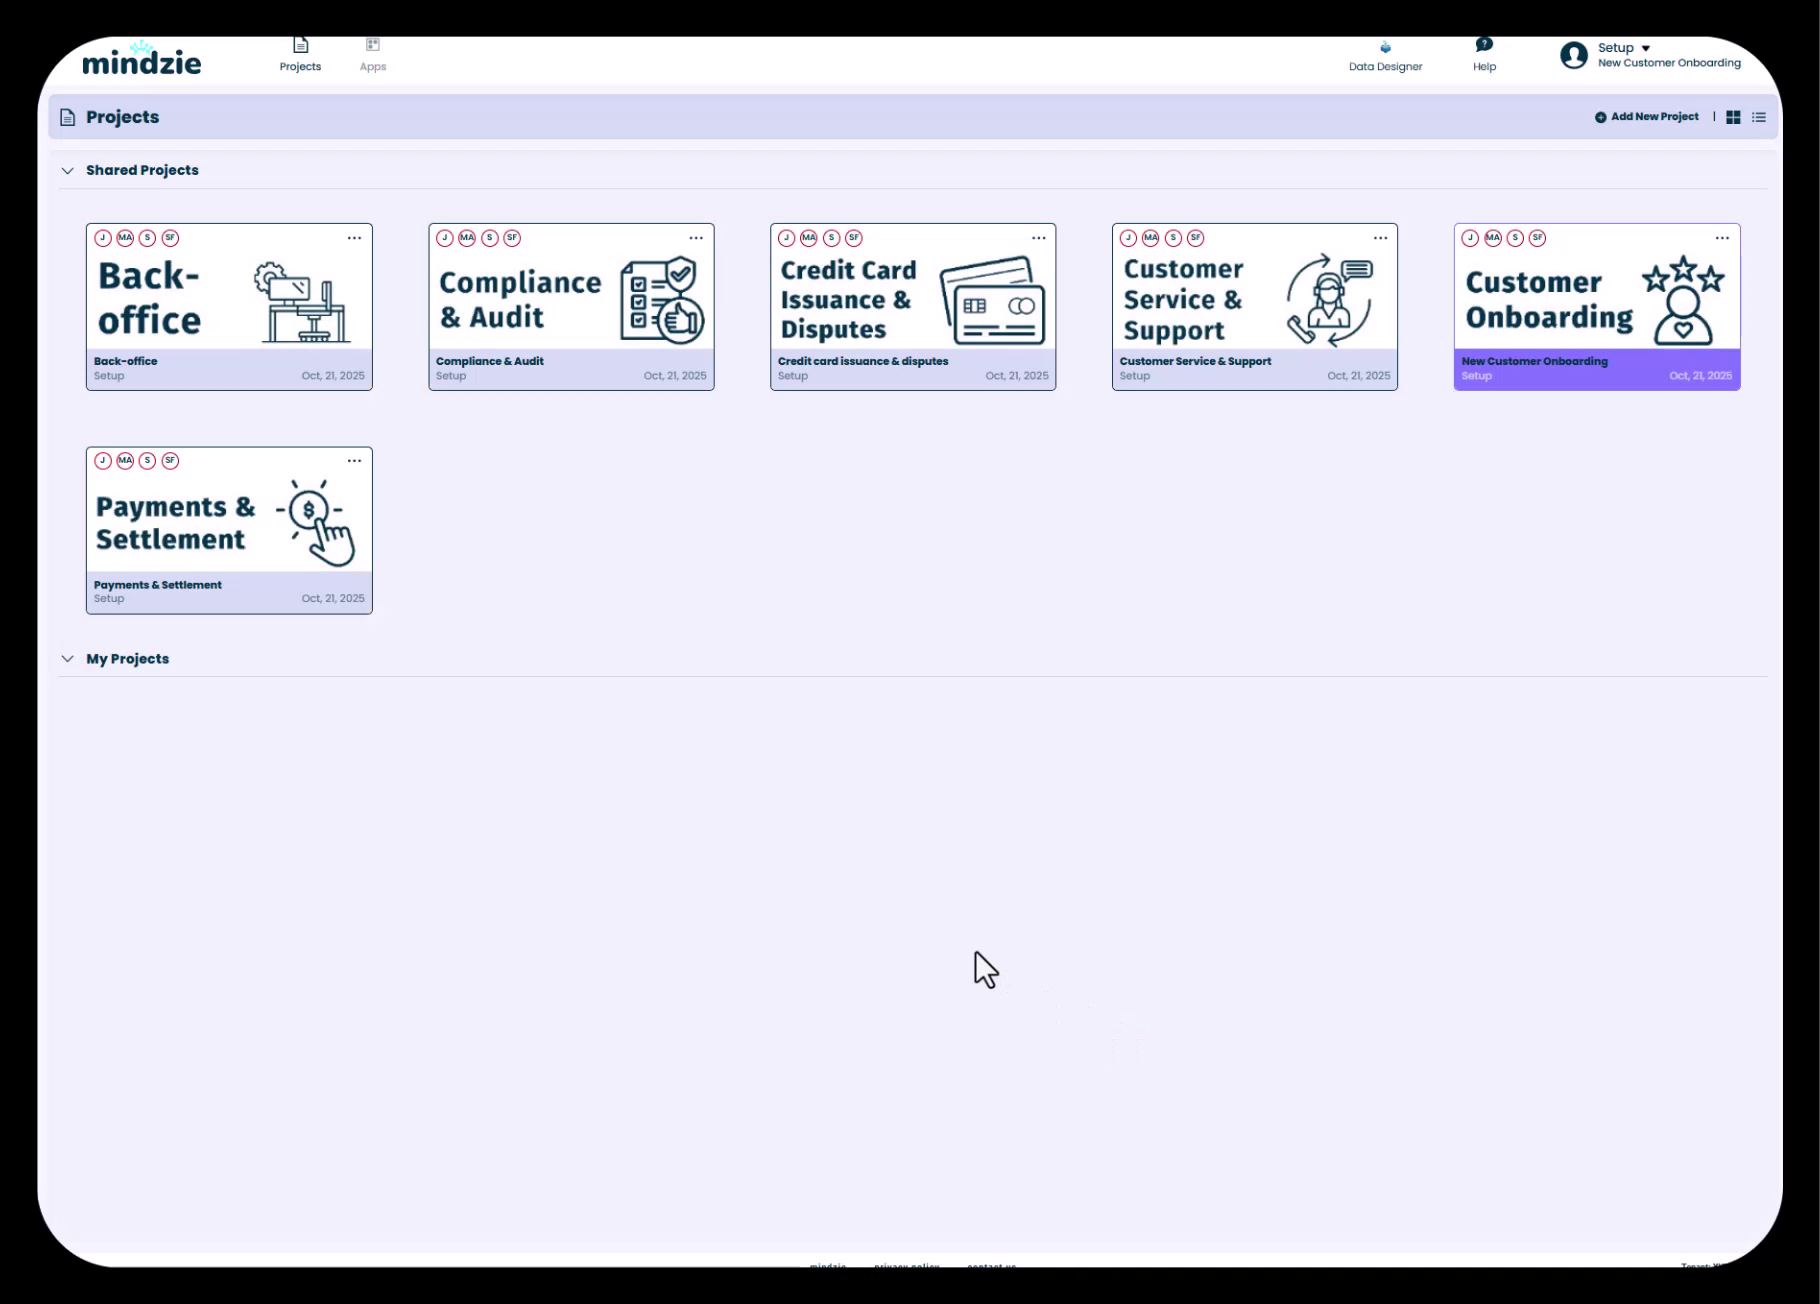
Step 1: Access mindzie studio and Navigate to Projects
- Log into mindzie studio using your credentials
- Once logged in, click the Projects button in the top navigation bar
- Click Add New Project to open the project creation dialog
You'll be presented with three options for creating a new project.
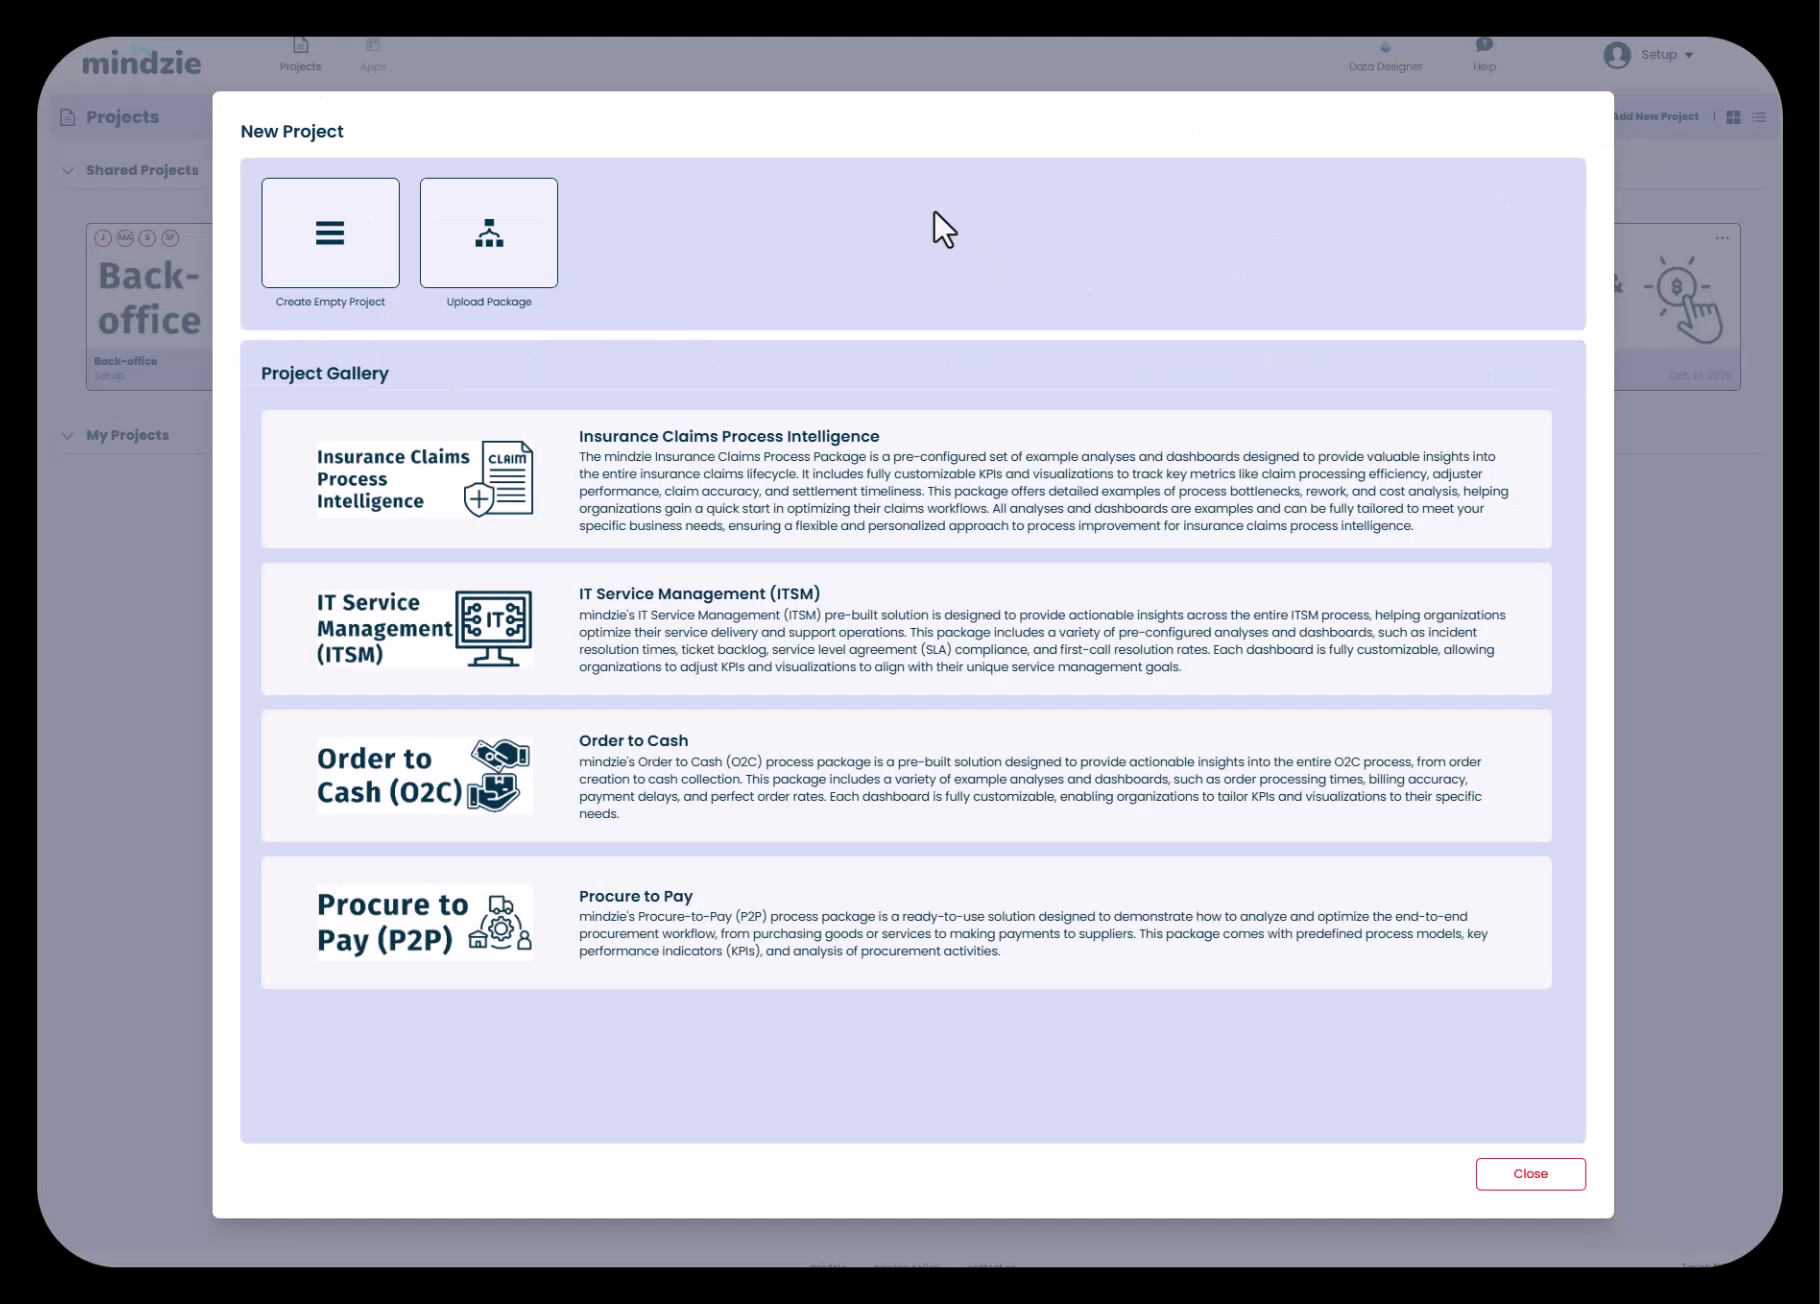
Step 2: Choose Your Project Creation Method
mindzie studio offers three ways to start a new project:
Option 1: Create Empty Project
Start with a blank slate and build your project from the ground up. This option gives you complete control over every aspect of your project configuration. We'll use this option for this tutorial.
Option 2: Upload Package
Import a previously saved mindzie project package. This is useful when migrating projects between environments or restoring backed-up projects.
Option 3: Project Gallery
Choose from pre-configured project templates that include sample analyses, dashboards, and enrichments. Examples include:
- Insurance Claims Process Intelligence
- IT Service Management (ITSM)
- Order to Cash (O2C)
- Procure to Pay (P2P)
For this tutorial, we'll create an empty project to learn the fundamentals.
Step 3: Create Your Empty Project
- Click on Create Empty Project in the New Project dialog
- A Create Project form will appear
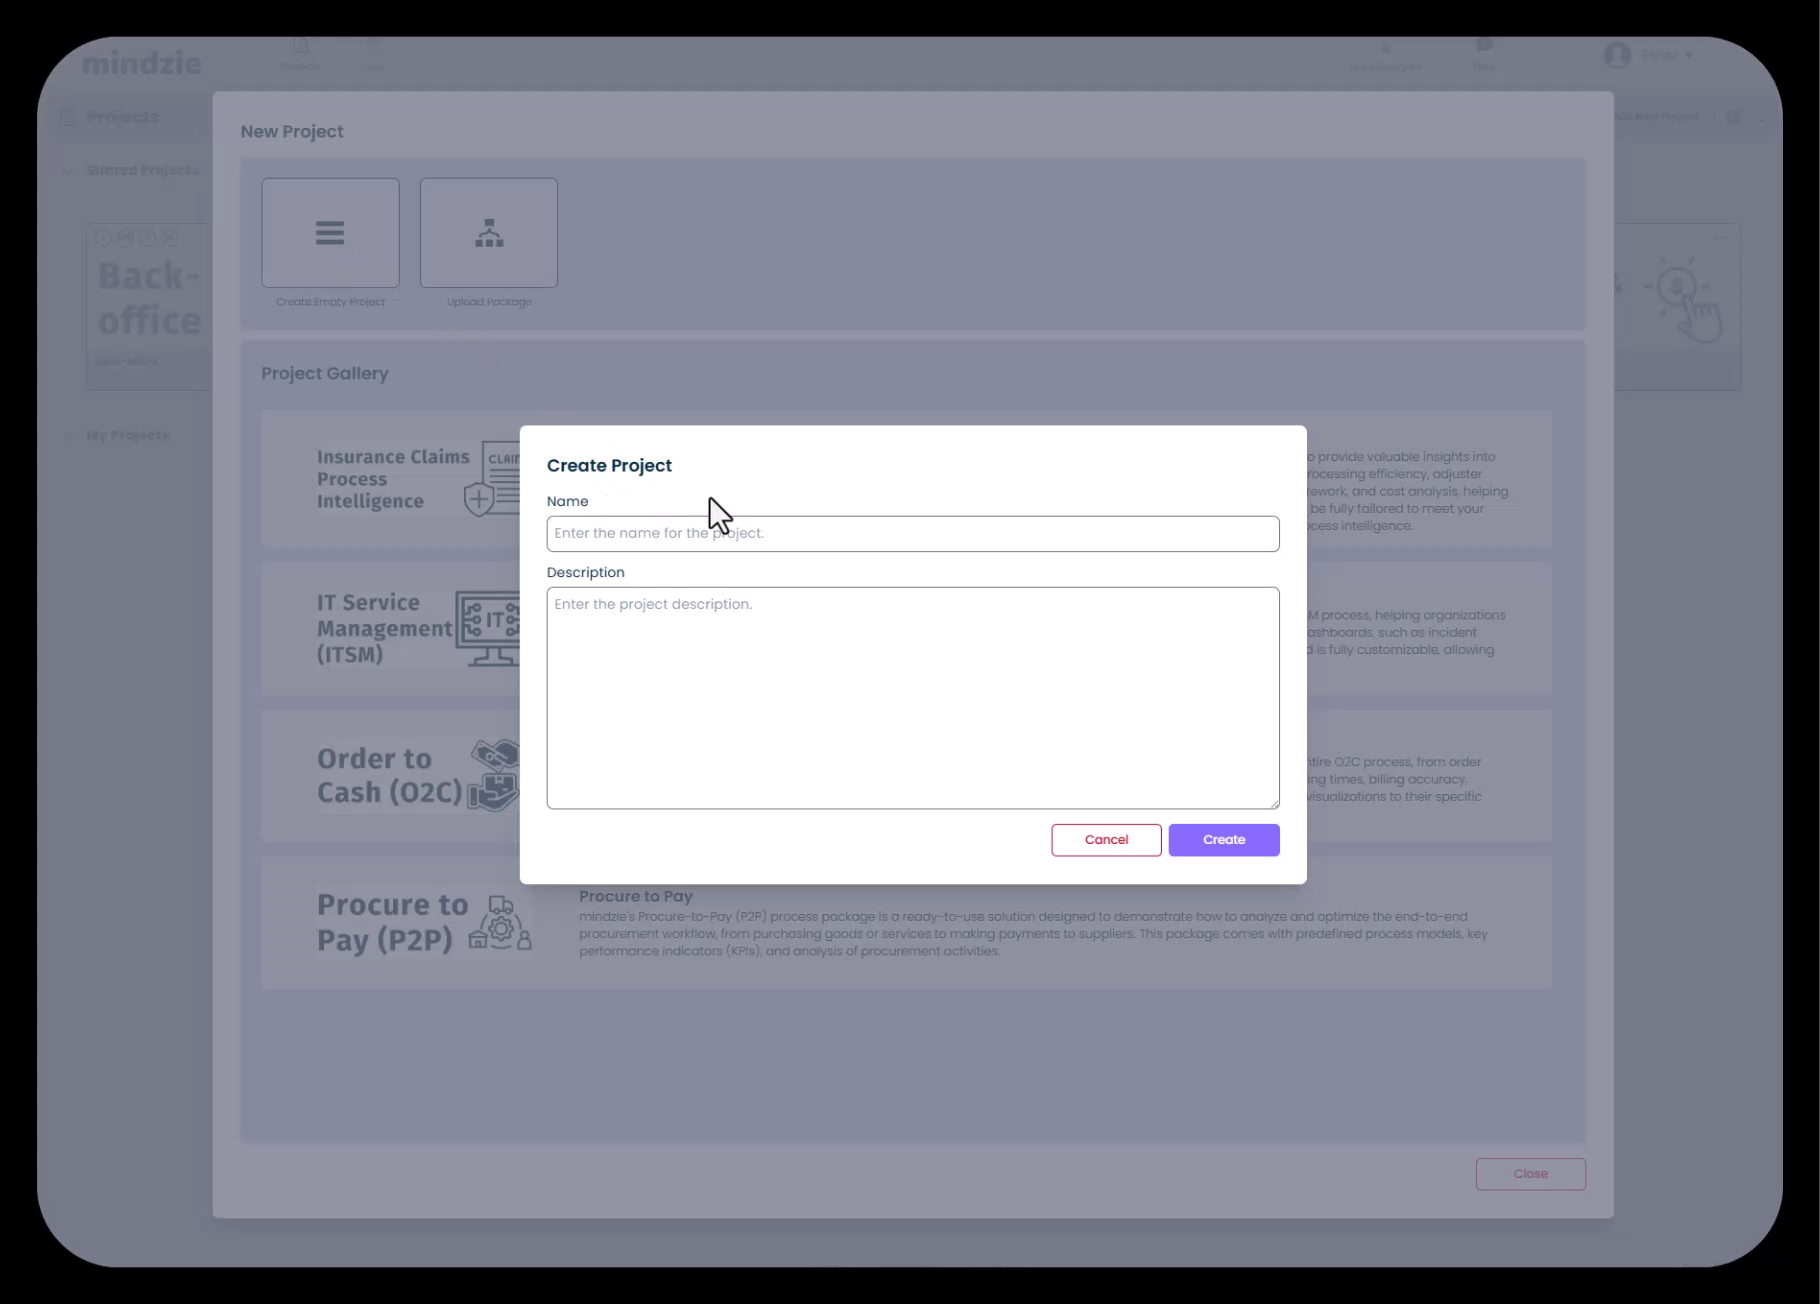
In the Name field, enter a descriptive name for your project
- Example: "New Customer Onboarding" or "Invoice Processing Analysis"
- Use a name that clearly identifies the business process you'll be analyzing
(Optional) In the Description field, add details about the project's purpose
- Describe what process you're analyzing
- Note any specific goals or stakeholders
- Include relevant business context
Click Create to generate your new project
mindzie studio will create the project and automatically navigate you into it, starting at the data upload screen.
Step 4: Upload a Project Thumbnail (Optional but Recommended)
Adding a custom thumbnail helps you and your team quickly identify projects in the project gallery. This is especially valuable when managing multiple projects.
- Navigate back to the Projects page by clicking Projects in the top navigation
- Locate your newly created project in the project list
- Click the three-dot menu (•••) in the upper right corner of your project card

- Select Upload Thumbnail from the menu
- In the file selection dialog, browse to your thumbnail image
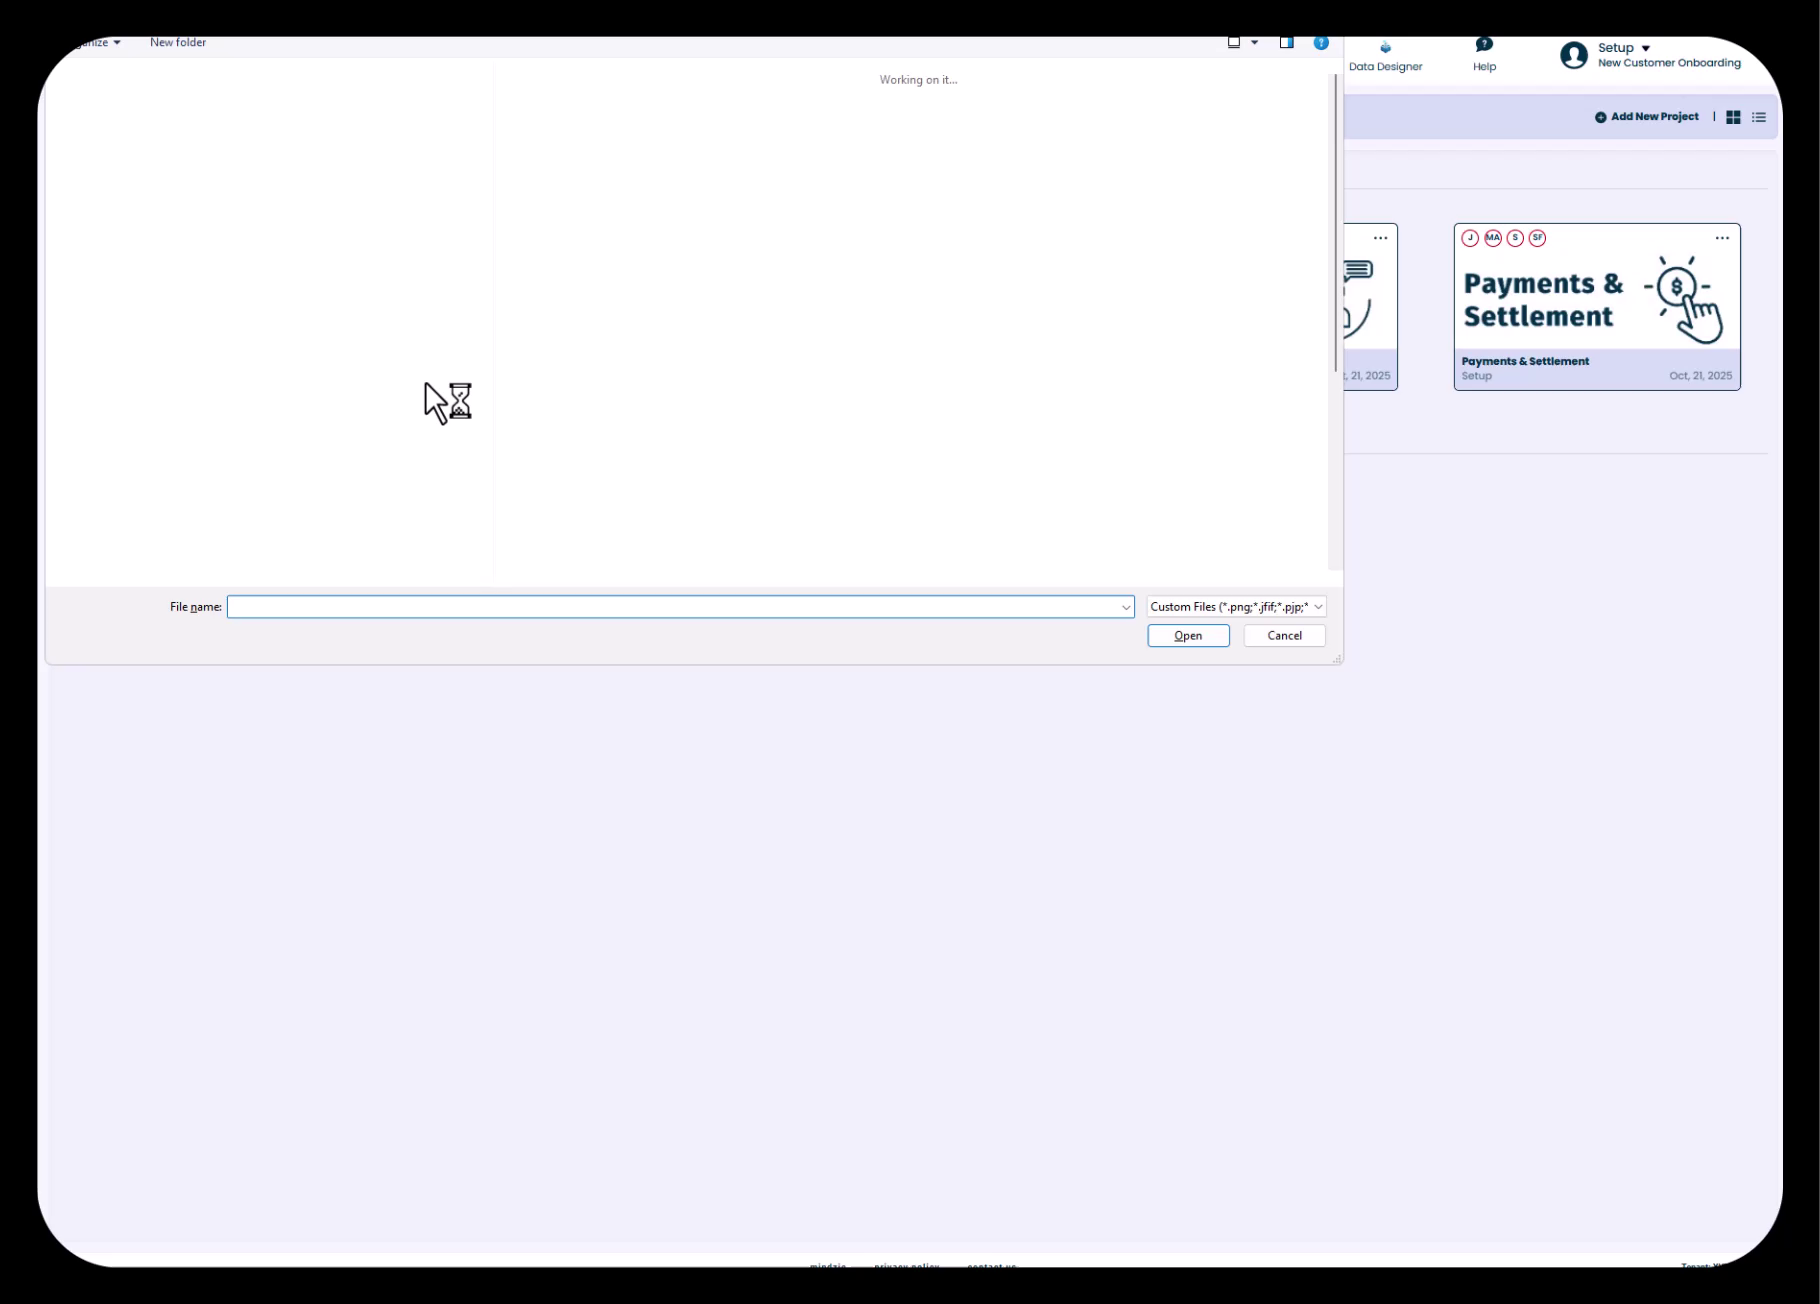
- Select your image file (PNG, JPG, or GIF formats are supported)
- Click Open to upload the thumbnail
The thumbnail will be applied to your project card, making it visually distinct in the project gallery.
Best Practices for Thumbnails:
- Use images that represent the business process (e.g., a banking icon for financial processes)
- Keep images simple and recognizable at small sizes
- Maintain consistent visual style across your organization's projects
- Use high-contrast images for better visibility
Step 5: Assign Users to Your Project
If you're building a project for delivery to stakeholders or collaborating with team members, you'll want to assign users and configure their access levels.
- From the Projects page, click the three-dot menu (•••) on your project card again
- Select Assign Users from the menu
- The Manage Project Users dialog will appear
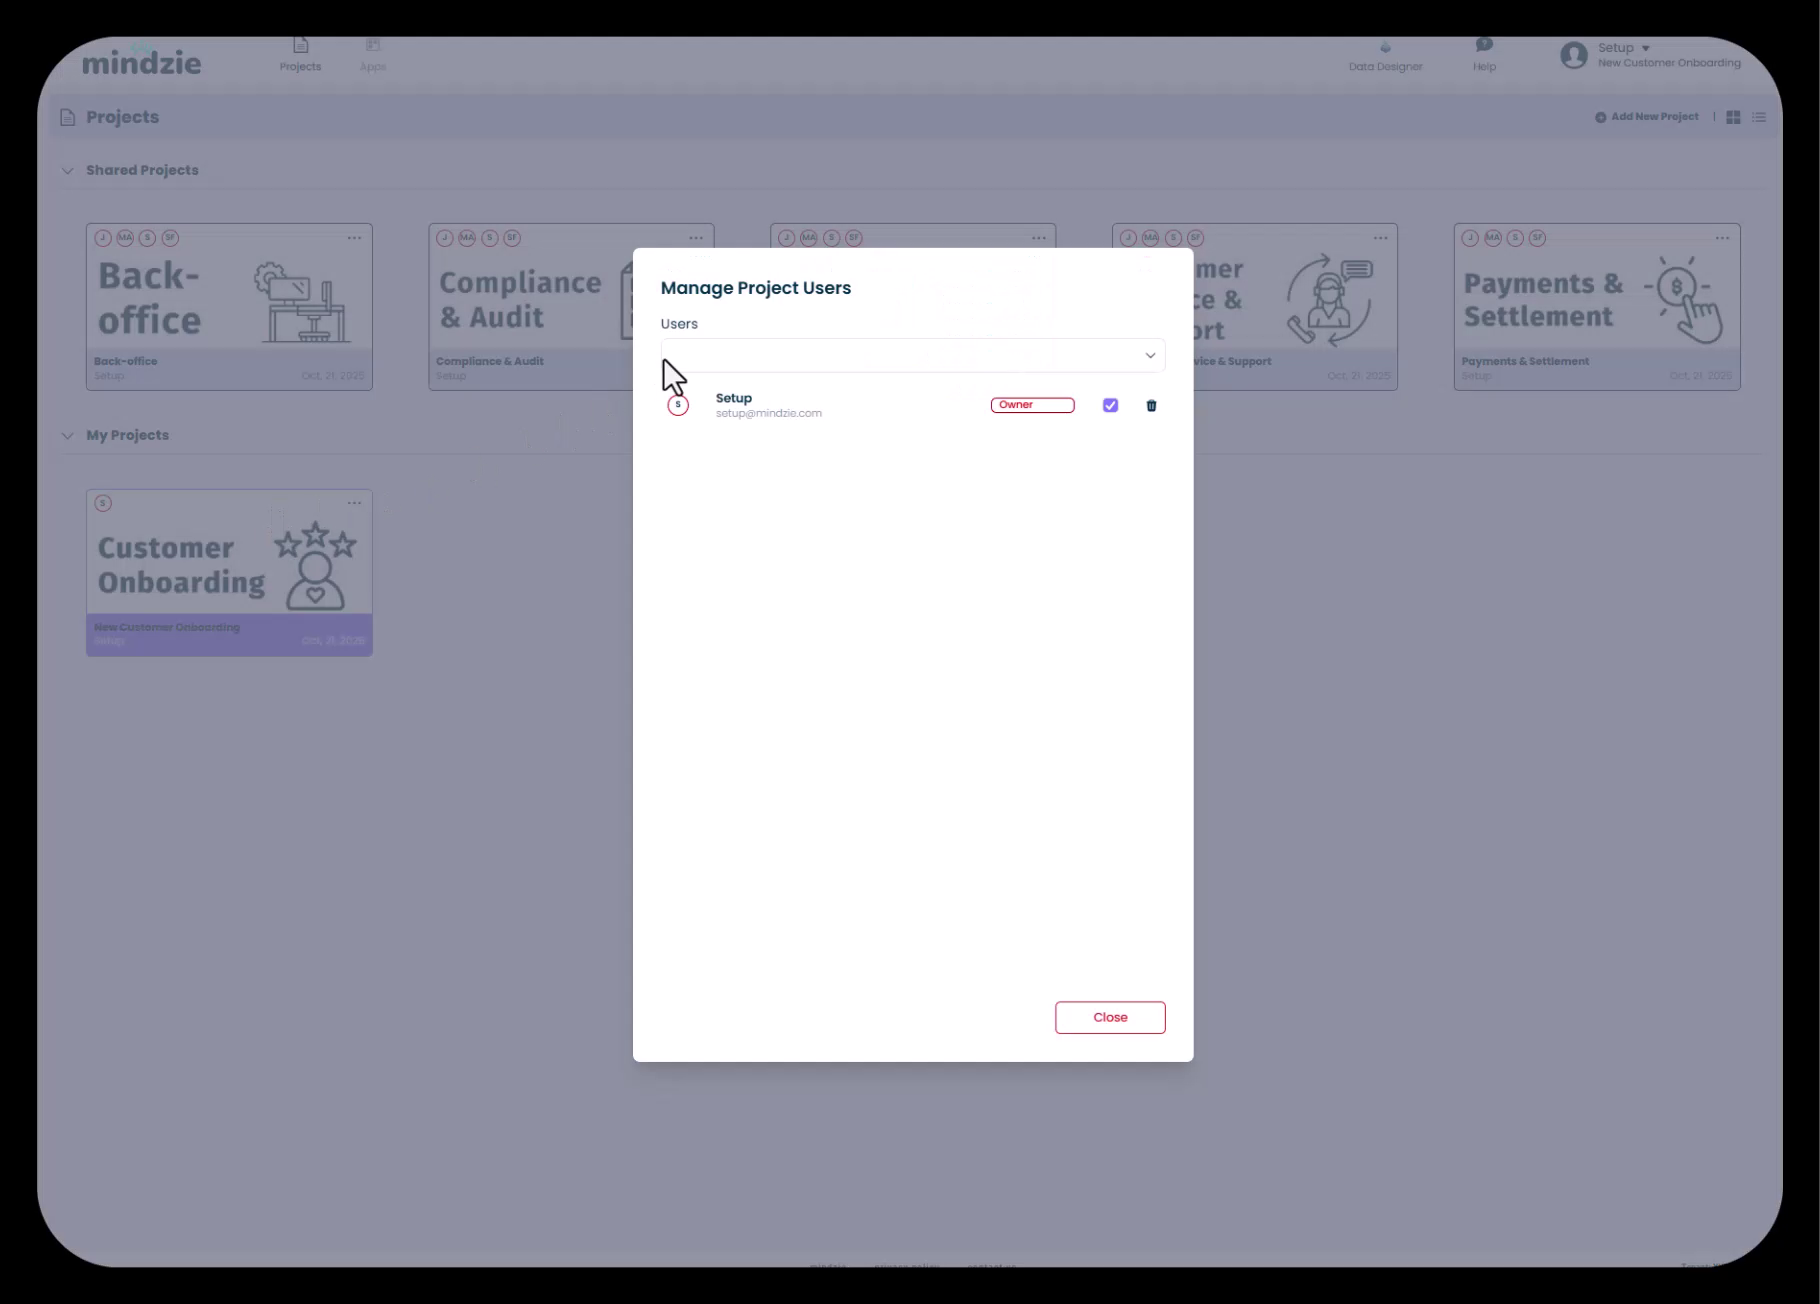
In the Users dropdown, search for and select users to add to the project
- You can add multiple users at once
- Users must already exist in your mindzie studio instance
For each user, configure their permission level:
- Contributor: Can add content, create analyses, and build dashboards but cannot modify project settings or delete the project
- Owner: Full permissions including project configuration, user management, and project deletion
Click the checkmark or Add button to assign the selected users
Repeat for additional users as needed
Click Close when finished
Permission Level Guidelines:
- Assign Owner permissions to process analysts and administrators who need full control
- Assign Contributor permissions to team members who will build analyses but shouldn't modify core settings
- End users who only view dashboards typically don't need project-level access (they'll access published dashboards directly)
Step 6: Verify Your Project Setup
After completing the setup steps, return to the Projects page to verify everything is configured correctly.
Your project should now display:
- The custom name you assigned
- Your uploaded thumbnail image
- The creation date
- Status indicators showing it's ready for use
What's Next?
Congratulations! You've successfully created your first mindzie studio project. Your project is now ready for the next steps:
- Upload Data: Import your process data via CSV upload or connect to data sources using mindzie Data Designer
- Configure Data Sources: Map key columns (Case ID, Activity, Timestamp, Resource) for process mining analysis
- Build Dashboards: Create role-specific dashboards for executives, operations teams, and process analysts
- Enrich Your Data: Use the log enrichment engine to add performance metrics, conformance rules, and calculated attributes
- Create Analyses: Build investigations and analysis notebooks to uncover process insights
Related Topics
- Uploading and Configuring Data Sources: Learn how to import CSV files and map data columns
- Understanding mindzie's Dual Dataset Architecture: Explore how mindzie transforms raw data into enriched datasets
- Planning Your Dashboard Structure for Different User Roles: Design effective dashboard layouts for various stakeholders
Key Takeaways
- mindzie studio offers three project creation methods: empty projects, package uploads, and gallery templates
- Custom thumbnails improve project identification and organization
- User permissions (Owner vs. Contributor) control access levels and capabilities
- Projects serve as containers for data, analyses, dashboards, and enrichments
- Proper project setup establishes a foundation for successful process mining initiatives
You're now ready to begin your process mining journey with mindzie studio!