Create an AI Report from CSV Files
Prefer to watch? This tutorial is also available as a video.
This tutorial walks through the fastest way to get business-ready insight reports from raw CSV exports: upload the files, tell the agent what you want to know, and read the finished reports. You do not need an event log, a column mapping, or any prior setup in the project.
The example uses a real, public IT service desk extract - about 25,000 incidents and 141,000 events from an incident management system - so every number and screenshot on this page comes from an actual run.
Sample data credit: the file used here is the Incident Management Process Enriched Event Log from the UCI Machine Learning Repository, published under the CC BY 4.0 license. You can substitute any CSV export of your own process data.
What You Will Build
One AI Job that:
- Turns a raw CSV export into a process-mining event log automatically
- Analyzes where incidents lose time, how often they bounce between teams, and what separates SLA breaches from on-time tickets
- Delivers a set of HTML reports you can read, download, and share
Time required: a few minutes of clicking, then 15-20 minutes of unattended run time. You get an email when the job finishes.
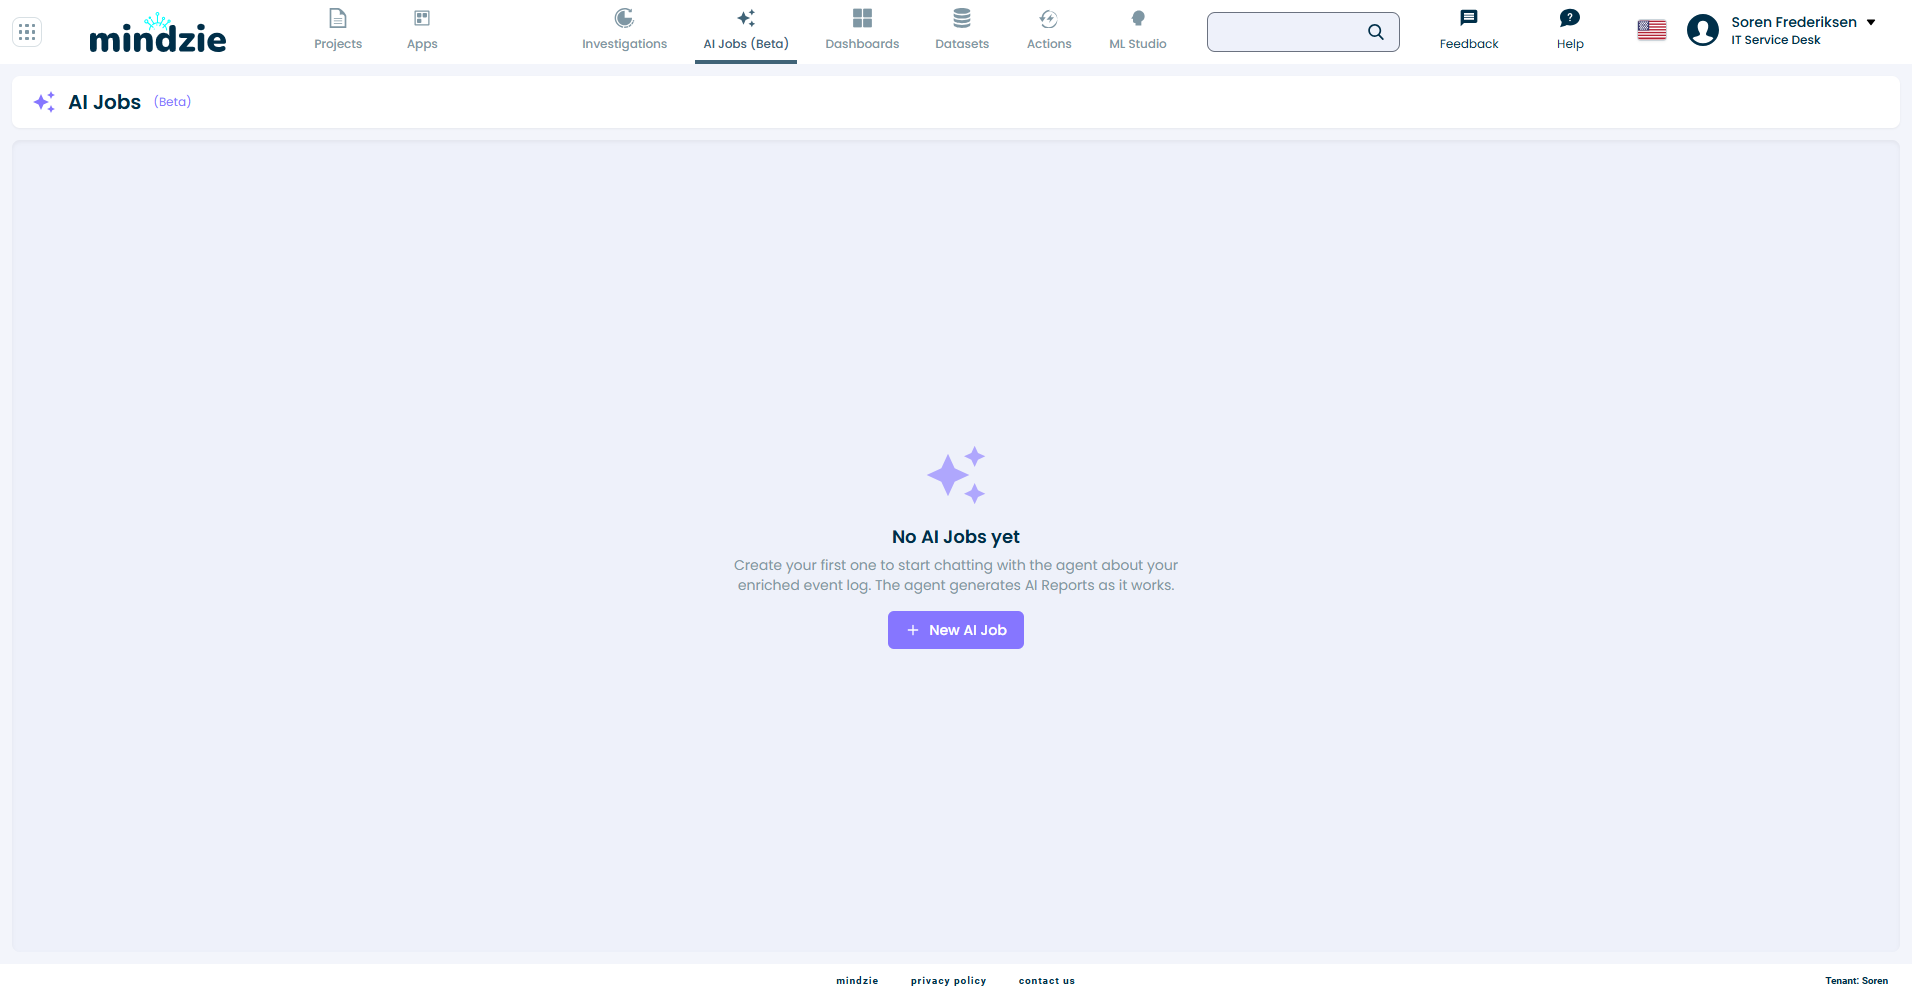
Step 1: Open AI Jobs and Start a New Job
- Open your project
- Click AI Jobs in the top navigation
- Click New AI Job
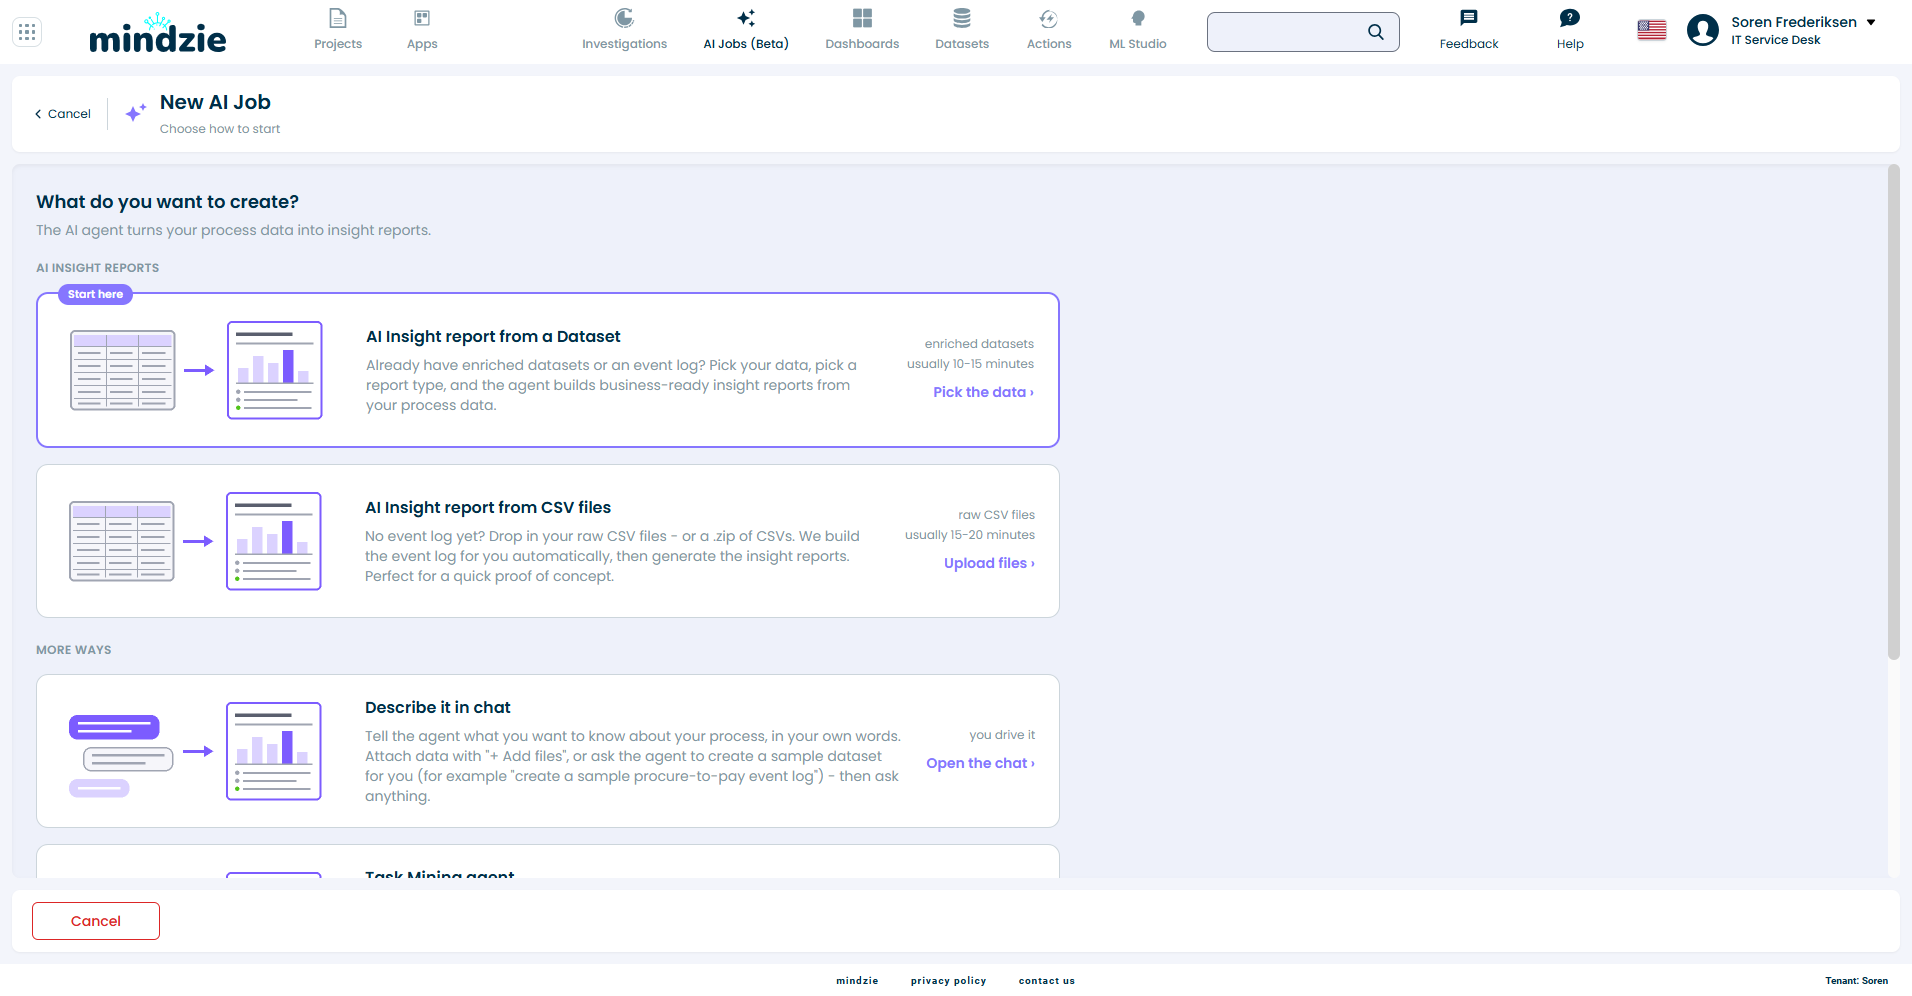
Step 2: Choose "AI Insight report from CSV files"
The New AI Job screen asks what you want to create. Under AI Insight reports, pick AI Insight report from CSV files and click Upload files.
Use this on-ramp whenever you have raw exports but no event log yet. If your data is already an enriched dataset in the project, use AI Insight report from a Dataset instead - the rest of the flow is the same.
Step 3: Upload Your CSV Files
Click Choose CSV or ZIP files to upload and pick your export. You can upload several CSV files, or a single .zip of CSVs, which is unpacked for you. Individual files up to 2 GB work fine - the 44 MB incident log here uploads in a few seconds.
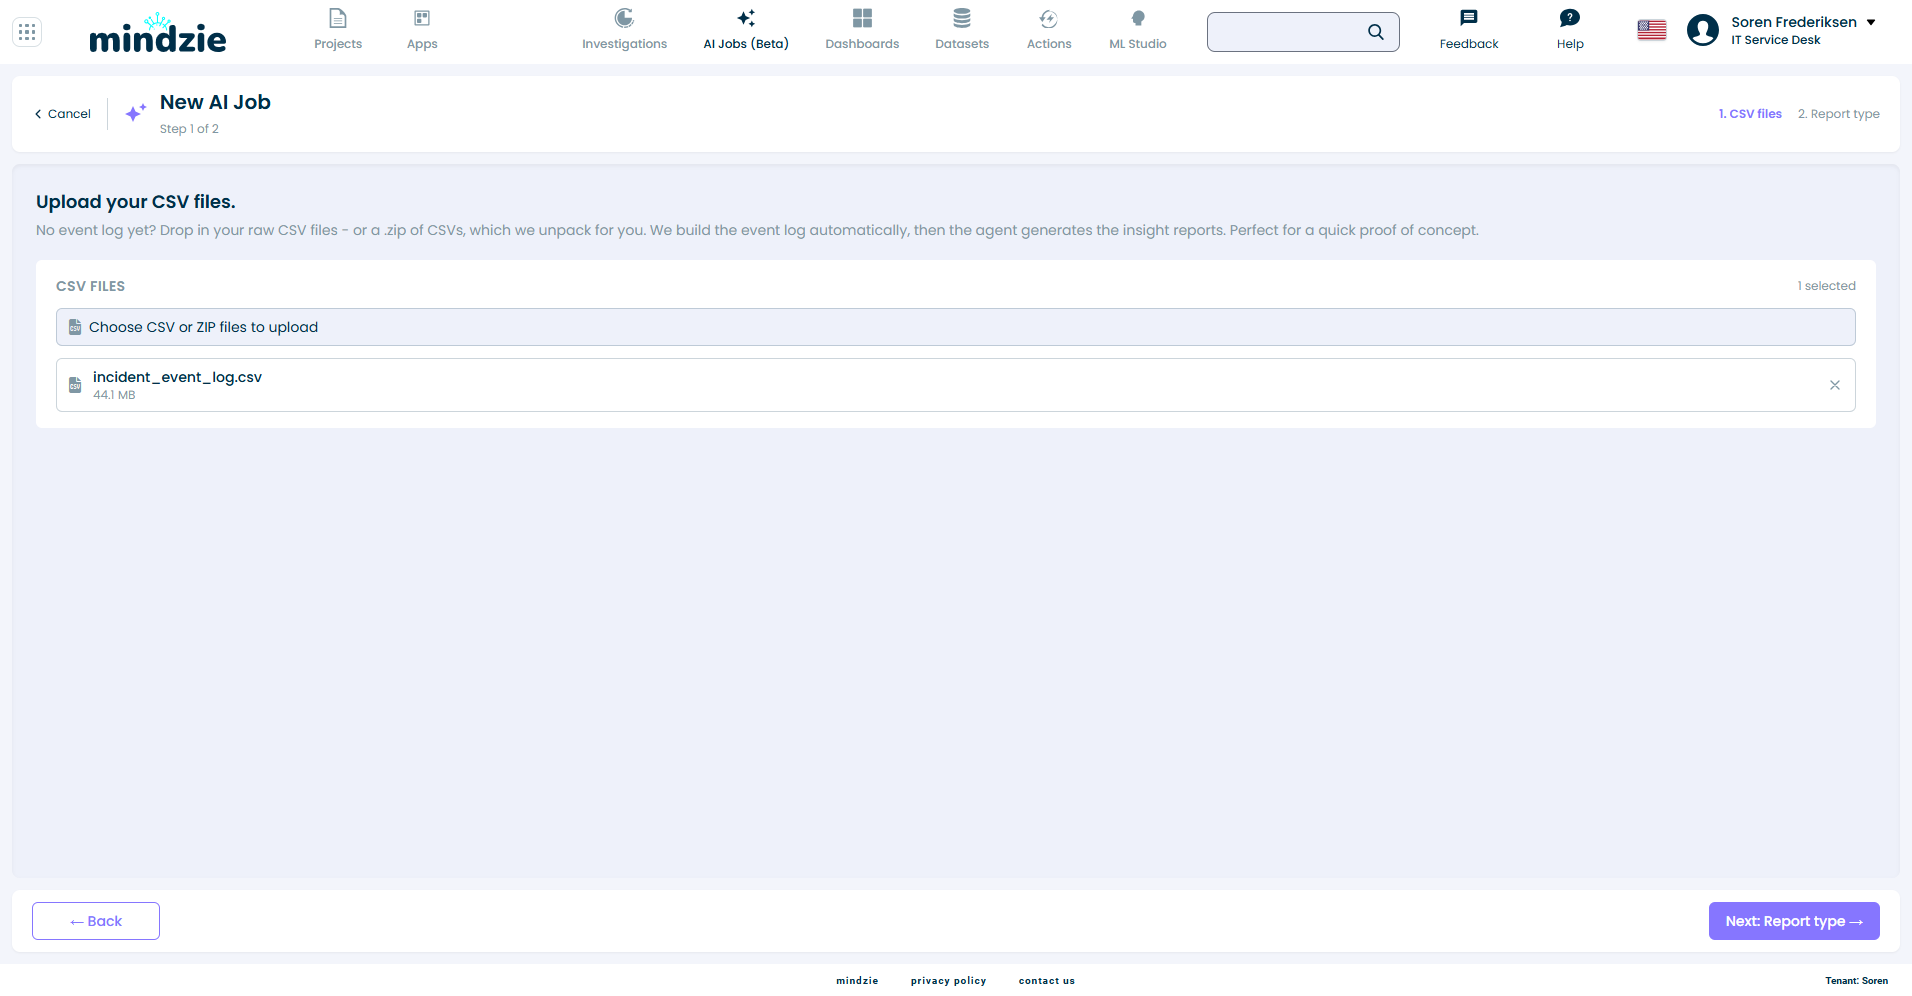
Each uploaded file is listed with its size. Remove a file with the x next to it. When at least one file is listed, Next: Report type becomes available - click it.
Step 4: Read the Prompt - It Is Already Started for You
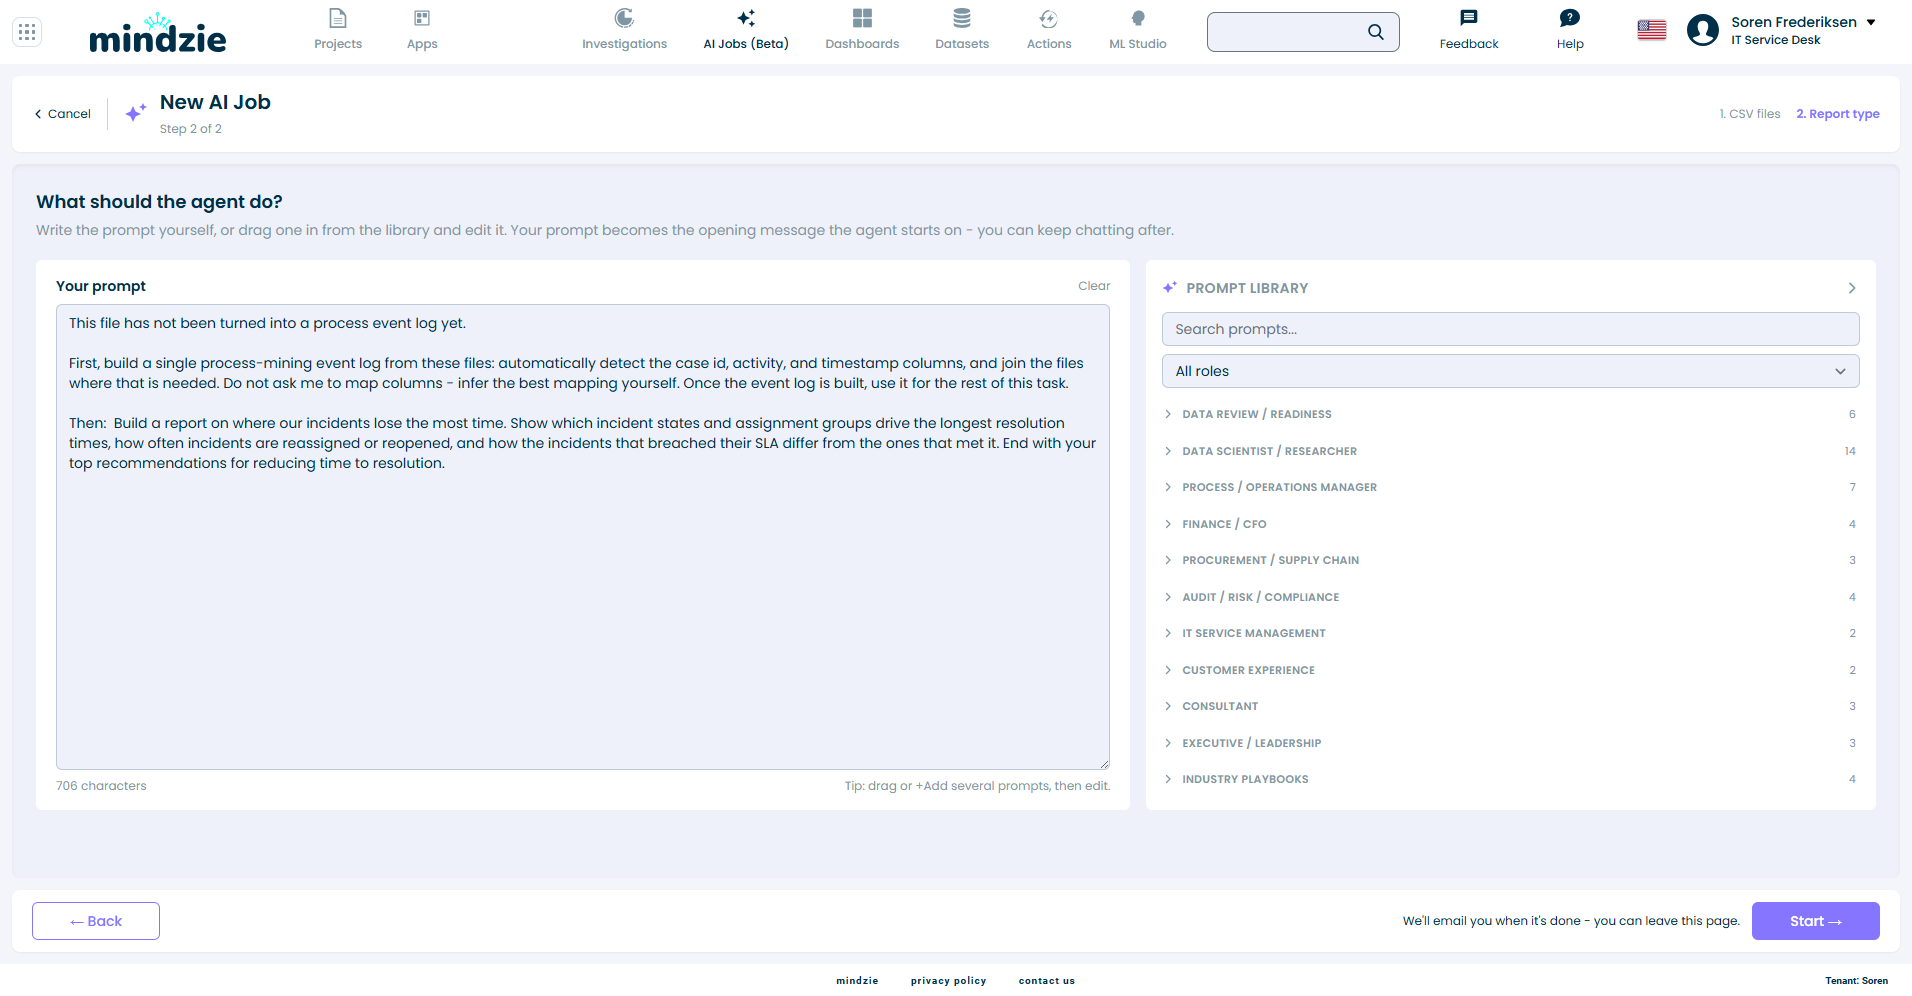
The second step is a single prompt box, and it opens already filled in:
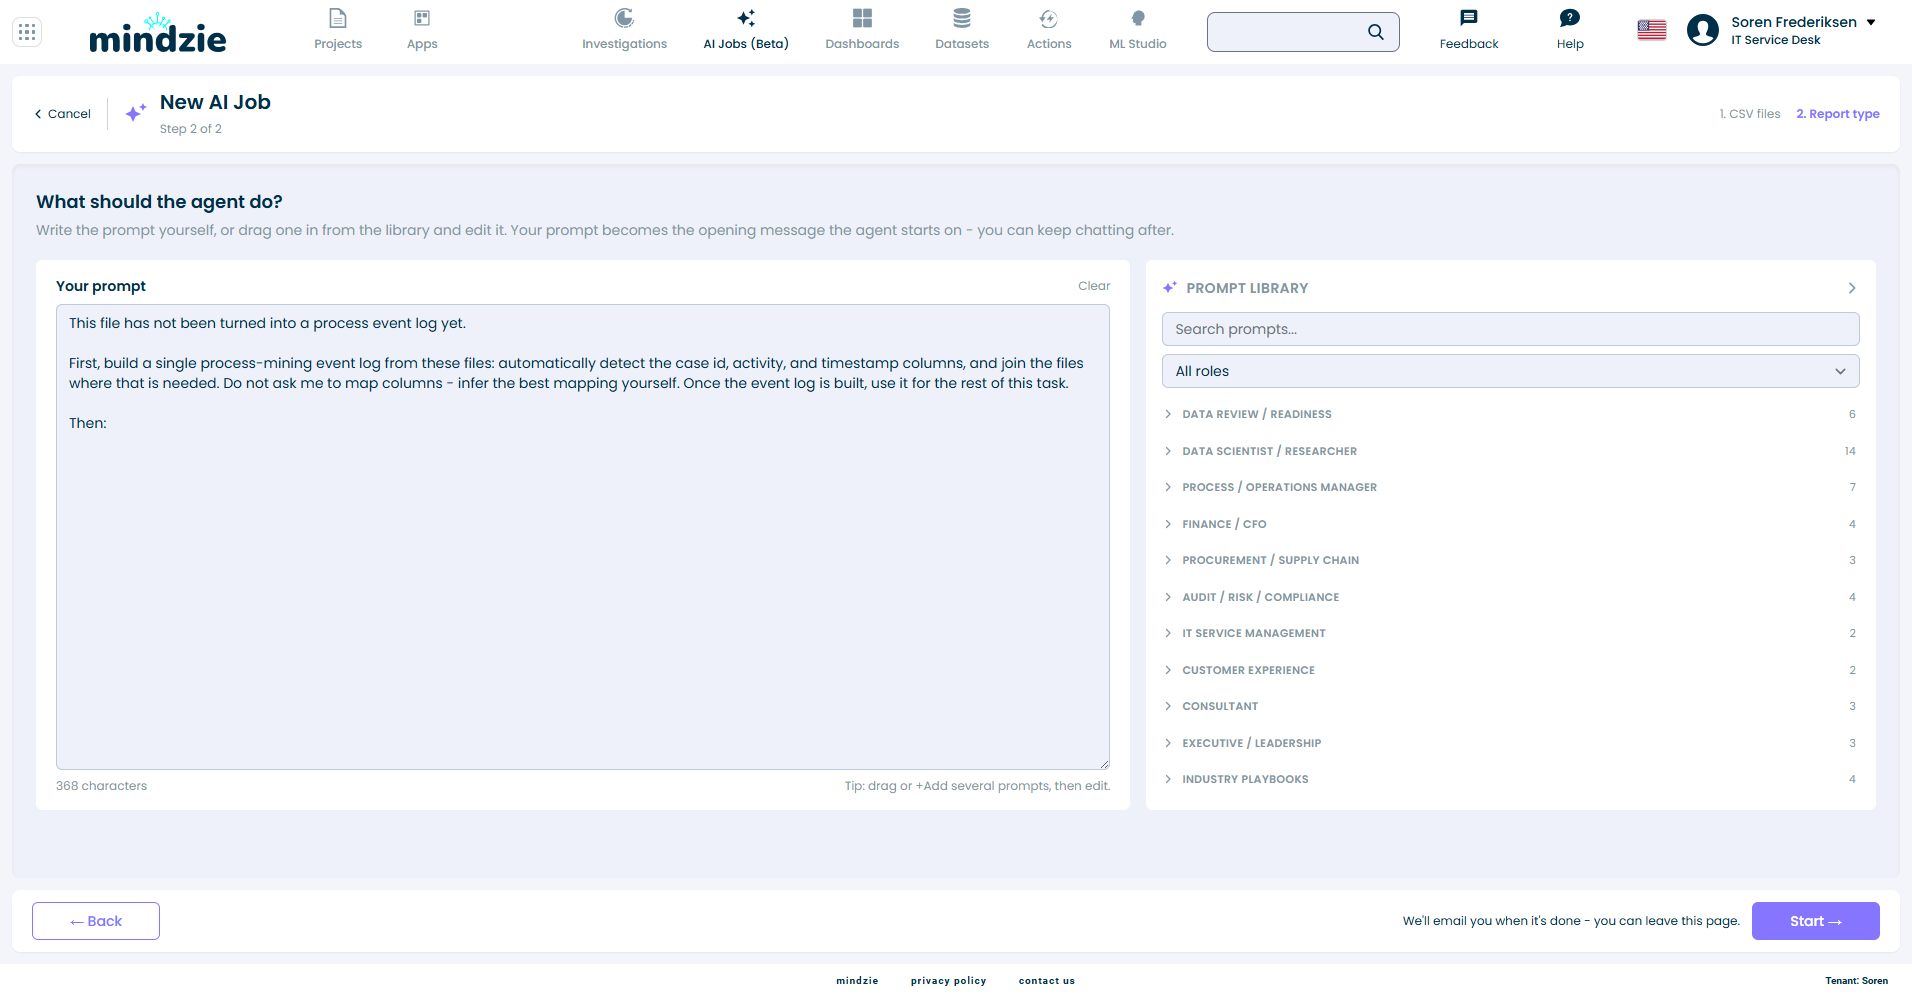
The pre-filled text tells the agent to build a single process-mining event log from your files first - detecting the case id, activity, and timestamp columns automatically and joining files where needed - and then ends with "Then:".
This text is yours to edit. What the agent receives is exactly the list of your uploaded files plus whatever this box says when you press Start - nothing more. For a report, leave the pre-filled text alone and finish the sentence.
Step 5: Type What You Want to Know After "Then:"
Click after "Then:" and describe the report you want, in your own words. For the incident data the request was:
Build a report on where our incidents lose the most time. Show which incident states and assignment groups drive the longest resolution times, how often incidents are reassigned or reopened, and how the incidents that breached their SLA differ from the ones that met it. End with your top recommendations for reducing time to resolution.
A few notes while you write:
- The prompt library on the right holds ready-made prompts for common roles - drag one in or click + Add, then edit. Several can be combined.
- An empty prompt box will not start - the job needs to know what you want.
- Be concrete about the questions you care about. Column names help but are not required - the agent reads the files itself.
Click Start. You can leave the page; the run continues in the background and you receive an email when it is ready.
Step 6: The Job Runs
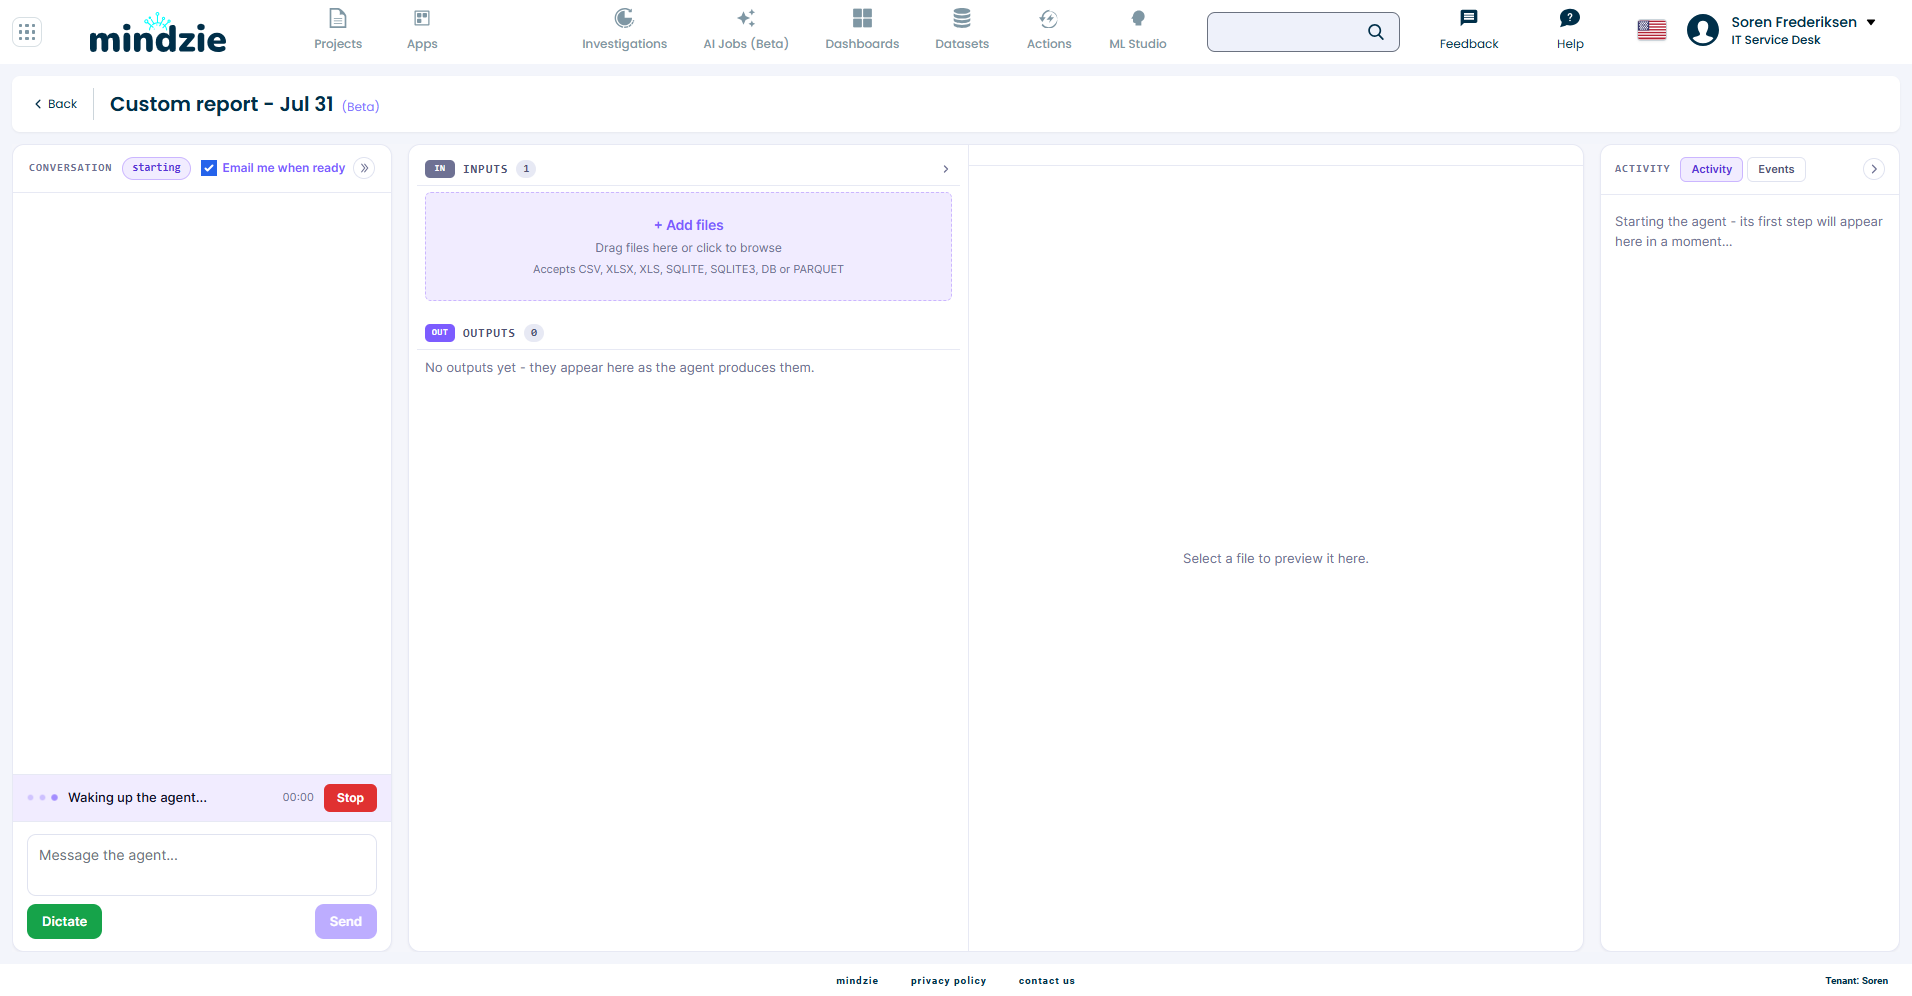
The job opens with the name Custom report - [date] and works through your request: first building the event log from your files, then running the analyses and writing the reports. The conversation pane shows what the agent is doing, the Inputs panel lists your files, and finished reports appear under Outputs.
Step 7: Read the Reports
When the run finishes, the Outputs panel lists the reports. The incident-data run produced four:
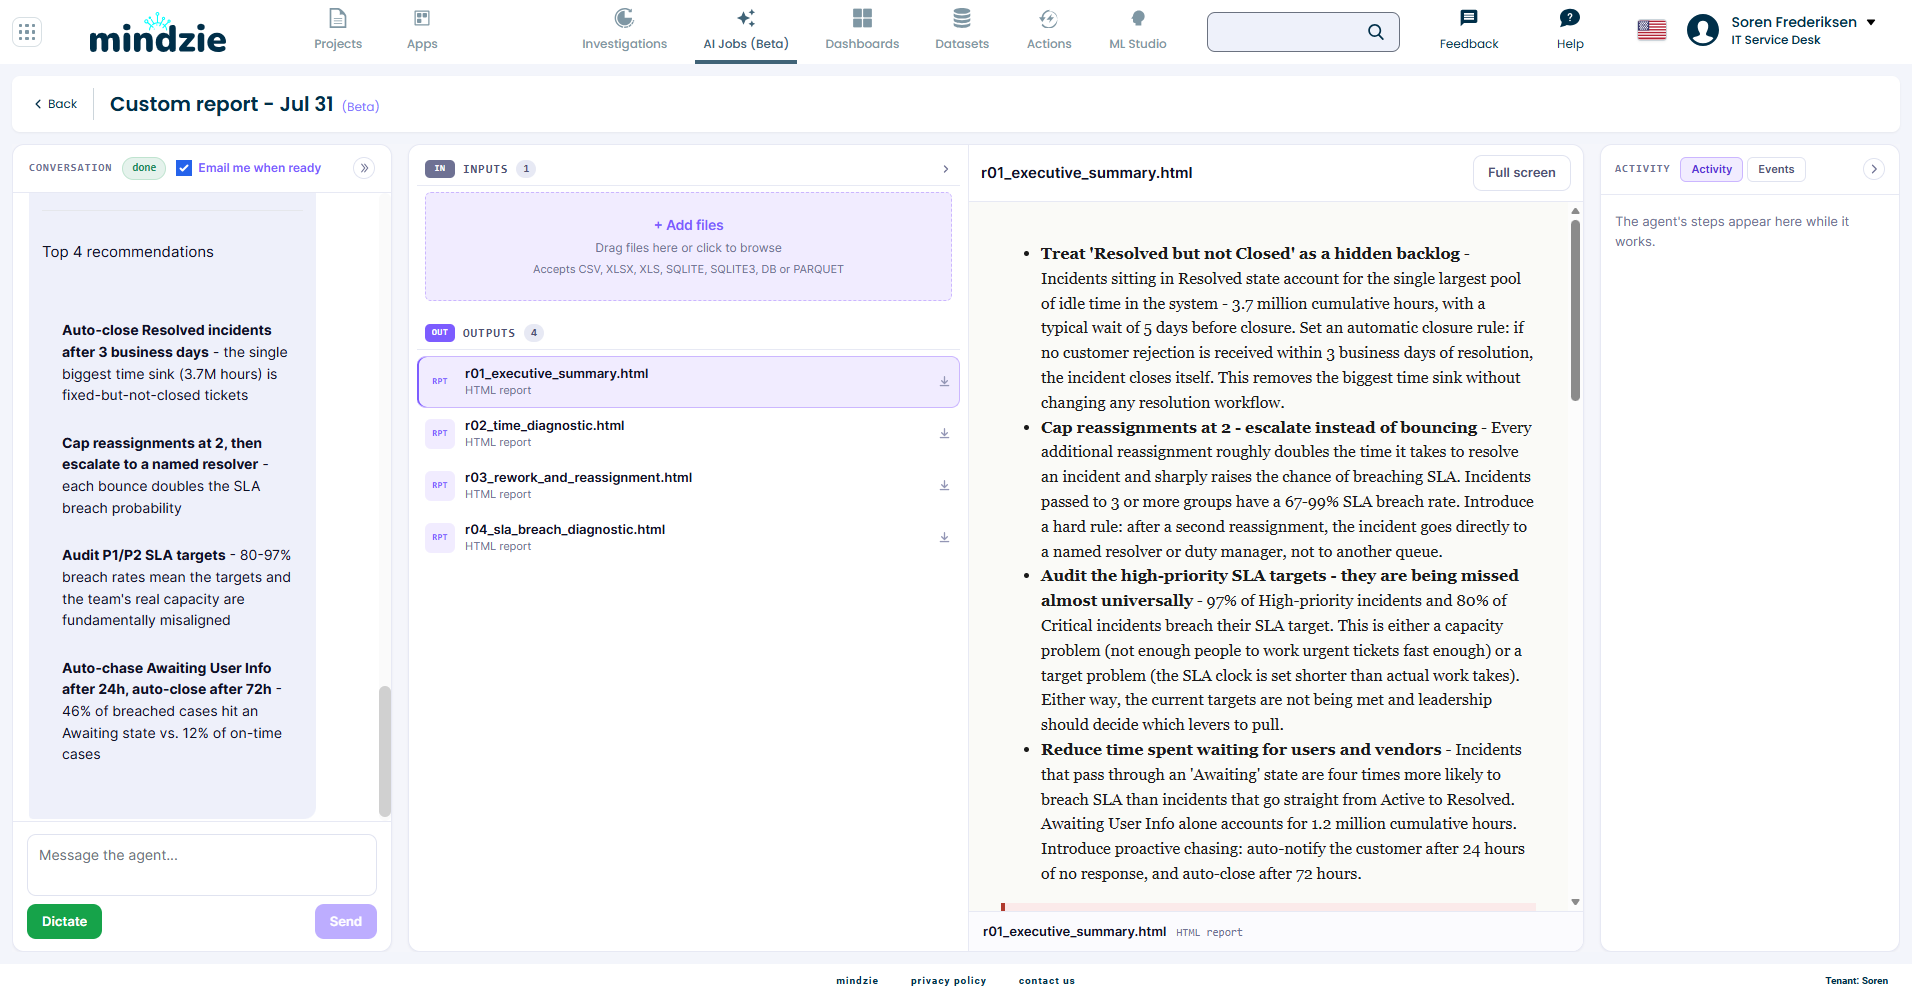
- Executive summary - the findings and recommendations in one page
- Time diagnostic - where the hours actually go
- Rework and reassignment - how often tickets bounce and what it costs
- SLA breach diagnostic - what separates breached tickets from on-time ones
Click a report to preview it, use Full screen to read it comfortably, or download it with the arrow next to its name. On this data the agent found, among other things, that incidents sitting in a resolved-but-not-closed state accounted for 3.7 million cumulative idle hours, and that each additional reassignment roughly doubled the time to resolve - findings it turned into concrete recommendations.
Your numbers will be different, but the shape is the same: every claim in the reports is computed from the files you uploaded.
Keep the Conversation Going
The report is the start, not the end. The job stays open as a conversation - type a follow-up in the message box to drill into a finding, change a definition, or ask for another report. Attach more files with + Add files at any time.
Troubleshooting
The event log came out wrong
The agent infers the case, activity, and timestamp columns. If the result looks off, reply in the conversation and tell it which columns to use - it rebuilds the log and reruns the analysis.
I want to check the data before trusting a report
Run a data review first - see Review Data Before Building. It tells you what your files can honestly support before anything is modelled.
Related Documentation
- AI Jobs - All the ways to start an AI Job
- Review Data Before Building - Check unfamiliar data before you build on it
- Voice Dictation - Speak your instructions instead of typing
Support
If you encounter issues:
- Email: support@mindzie.com
- Include: the job name, the files you uploaded, and expected vs actual behavior